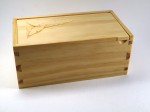
 She said, “It turned out pretty well for being chintzy wood.”
Pines are native to most of the northern hemisphere. So, why is it when I go to nearest home center, the pine they have is the Radiata species grown in New Zealand? I wonder what the market dynamics are that brings the stuff nearly 9000 miles to get to the big orange box store near us. I do have to admit that it is generally very free of knots and usually straight, flat, and straight grained … much better than some of the other stuff in the store.
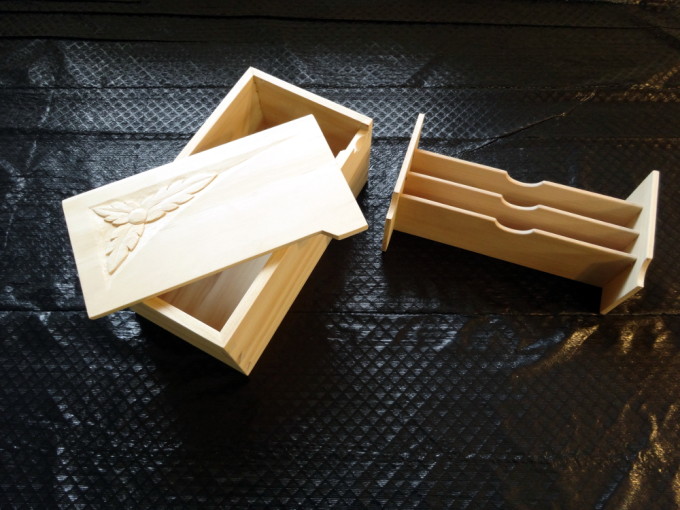
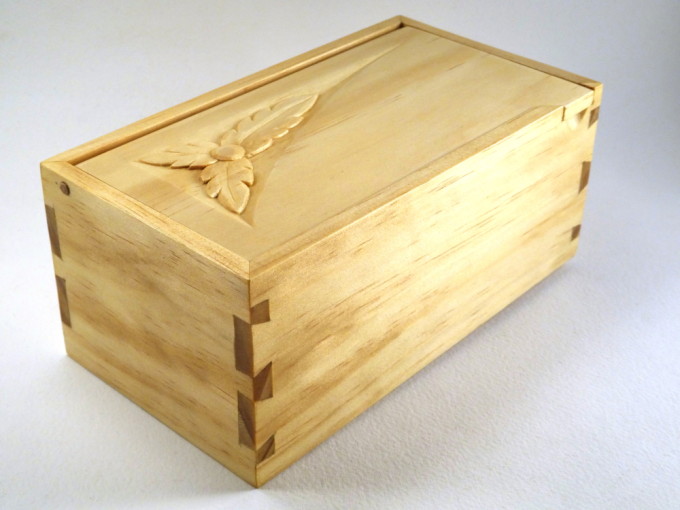
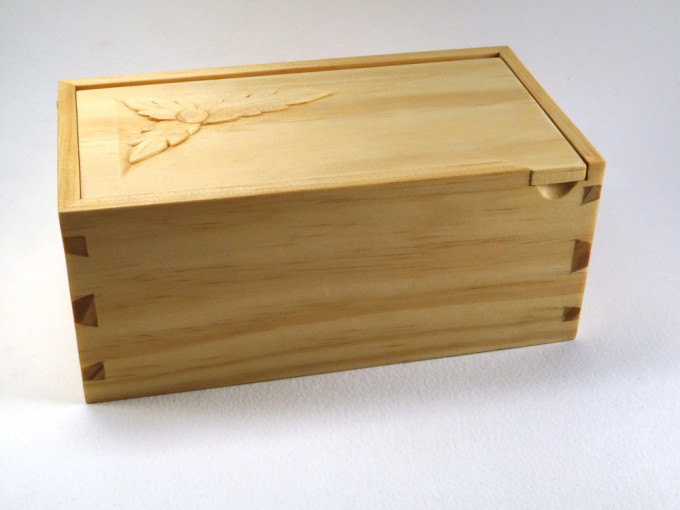
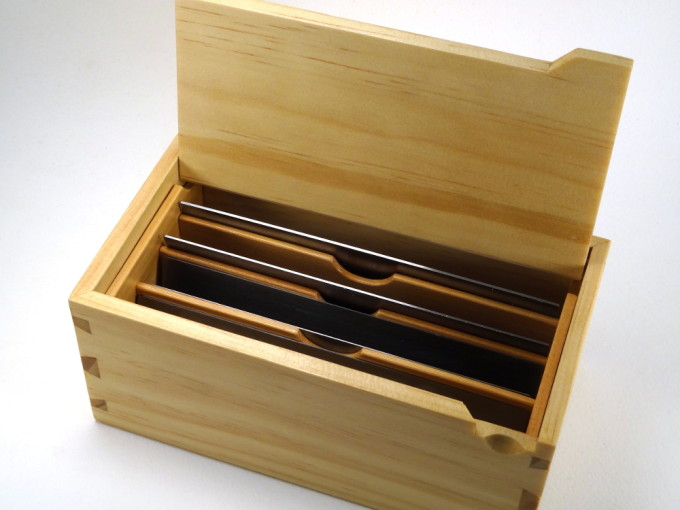
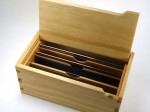 This little flip-lid box is intended as storage for a growing collection of card scrapers. Being a shop accessory, I decided to use some of the radiata pine I have left from other projects and save the hardwood for other times.
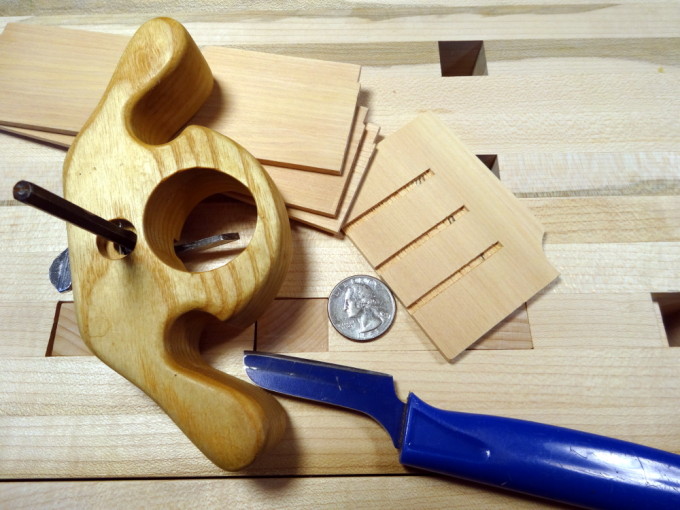
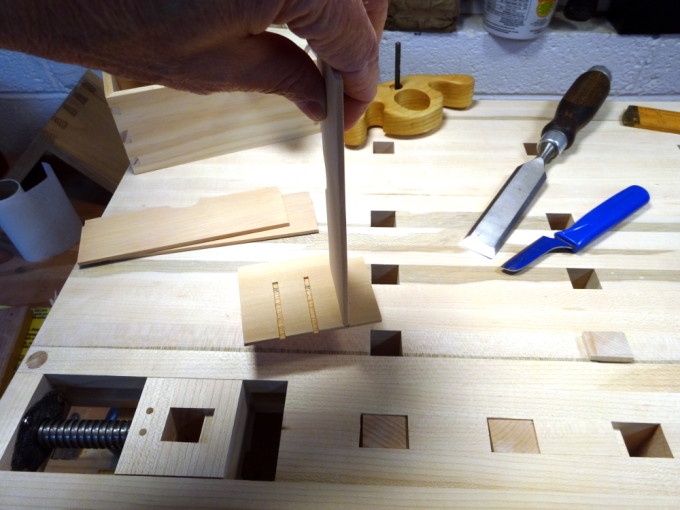
The box needs dividers and I’ve never made them before. I worked out the simple scheme of three dividers and two end pieces to hold them. Another quick wood decision. … 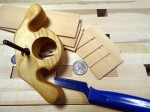 There’s a lot of cedar left from boatbuilding days and it can be cut down to 1/8 inch thickness very quickly. It’s the nature of cedar to crush more easily than cut, so when it came to routing the dadoes, a knife and slicing motions worked better than a chisel. A shop made router rounded out the tools needed for these joints. These are very small dadoes, 1/8 inch wide and only 1/16 inch deep. It turns out that they need exactly as many steps as any of their larger brothers.
As the box neared completion, regrets about wood choice began to loom. All of the boxes I’ve made recently have been made as much for having something to decorate with carvings as much as having a practical storage box. Carving wasn’t in the original plan, but why not? …. Because it’s stringy pine, that’s why not.
Then, along came Rob Porcaro (Heartwood blog) with “It’s always something.” Read it!
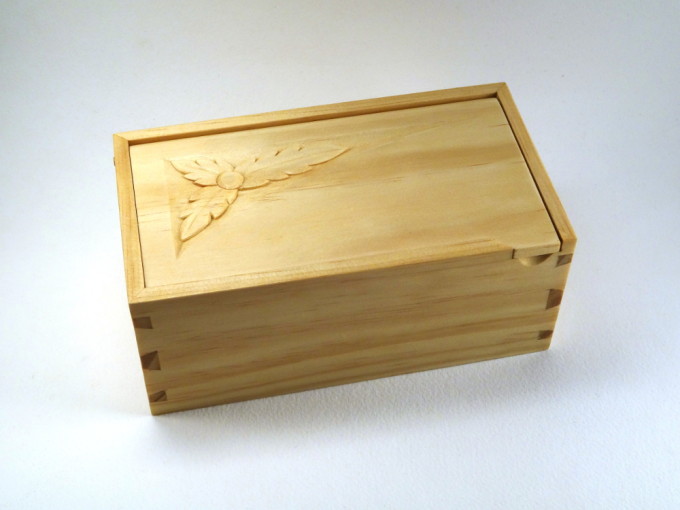
A simple three leaf embellishment, a recent carving lesson from Mary May, originally meant for corner decorations, turned out to be just complicated enough to be satisfying and just simple enough for the pine. Taking shallower cuts to avoid unwanted splitting resulted in more facets than I like in the background, but adding yet more facets even things out.
All in all, she’s right. It turned out to be a satisfying project with a purpose.
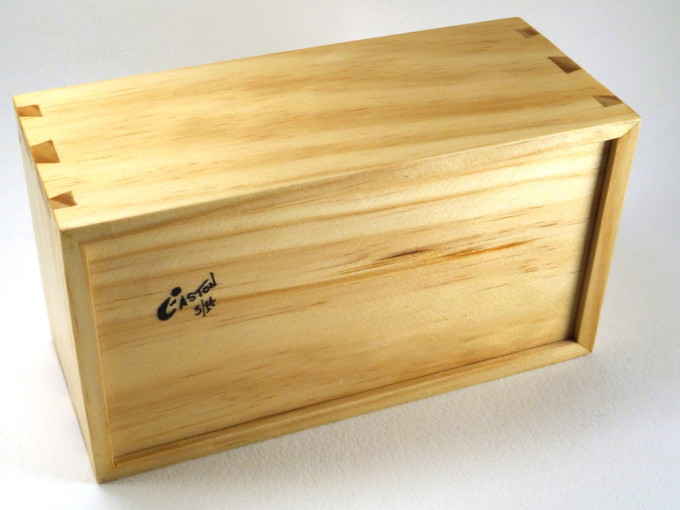
Dimensions: 6 3/4 inches (L), 3 3/4 inches (W), 3 inches (H)
Finish: Shellac.
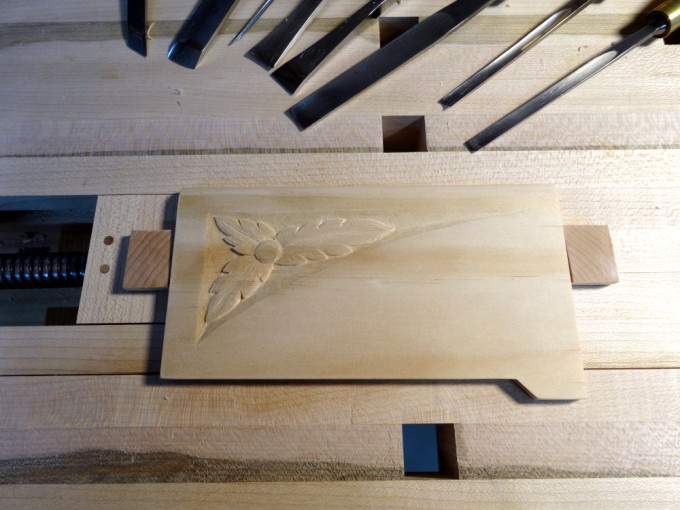
That’s a pretty slick looking lid Bob. Without any shame at all, I’ll be stealing this and making one for myself.
Thanks Ralph,
Not sure whether you mean the way the lid works or the carving.
The flip lid is a favorite of heirloom box maker Peter Lloyd. See his book “Making Heirloom Boxes” for more.
Note that the back edge has to be rounded to allow pivoting space. It stops naturally at about 95-100 degrees open depending on how you set the pins. The lift can be a small tab like this one, a tab that overhand more and doesn’t need the finger nail scoop, a shaped tab like on this box, or a full width tab. There are lots of possibilities.
The carving could probably be done with fewer gouges than shown in the photo. A dedicated minimalist could do it with two #3 gouges, one 6mm wide, the other 14mm wide …. and best if the small one is a fishtail.
Hi Bob,
Nice box. One caution: cedar in contact with steel will cause it to rust. If you did not do this already, shellac or poly the cedar dividers so they don’t bring damage to your tools.
I learened this painful lesson from my saw rack and some rust damaged saws.
Hi swirt,
THANKS for that! That’s one reason why we use brass (actually, silicon bronze) screws in boat building. Salt water is the other reason.
Yet, even knowing this in one woodworking genre, doesn’t mean we automatically remember it for other types of woodworking. Good reminder. Thanks!
…and as a matter of course, those dividers have several coats of shellac.
Nice work Bob, really like your lid and the carving.
I am on my last steps in completing a step stool for my wife. I had found some really nice local walnut rough saws that turned out to be beautiful. Check out my step stool.
Michael
http://michaelswoodcraft.wordpress.com/2014/03/21/walnut-step-stool-part-iii/