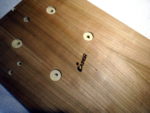
Almost … one more hole to be drilled.
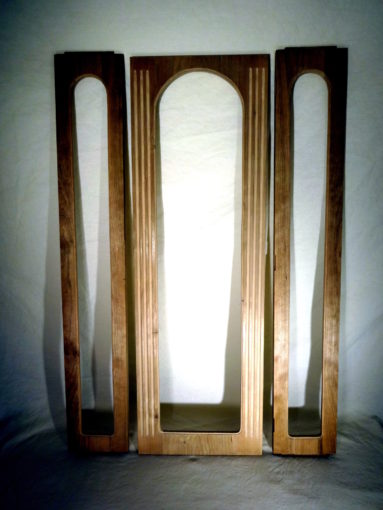
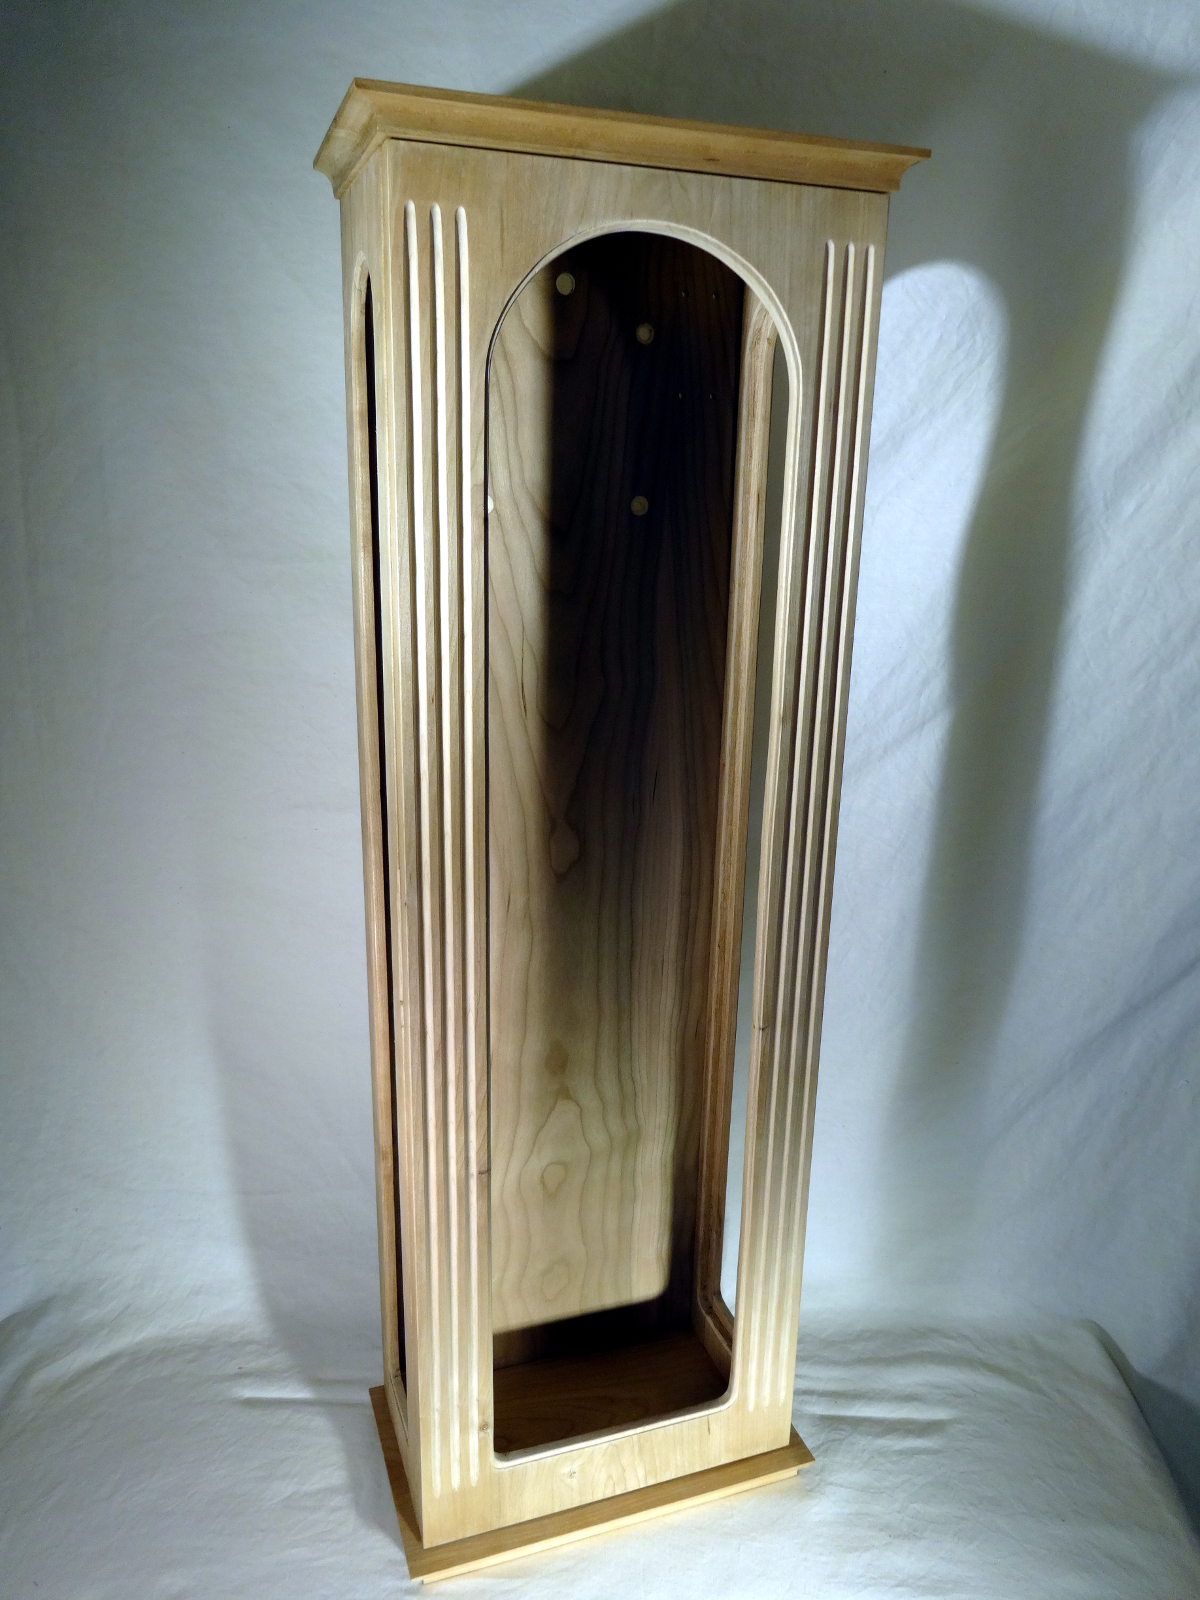
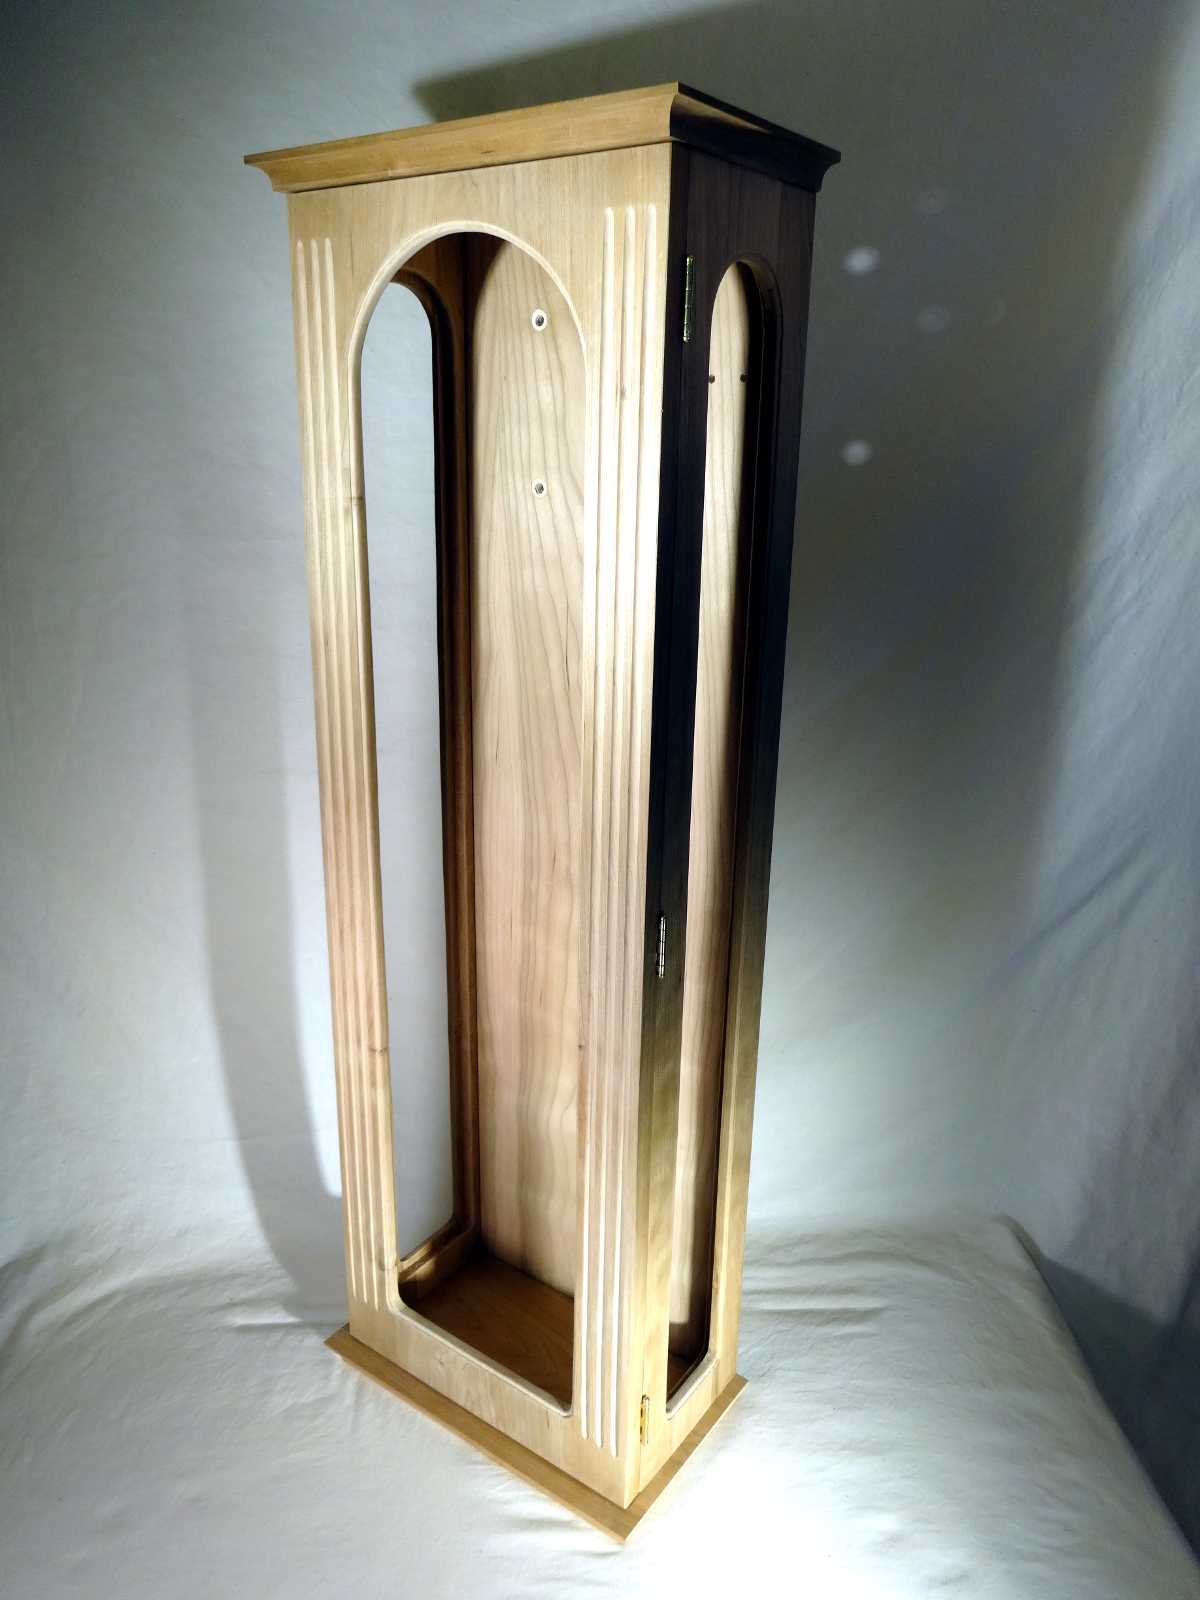
Carving the edges of the glass openings and carving the flutes were the penultimate woodworking steps. Next, I installed a pair of magnet latches, one at the top and one at the bottom of the door. After those steps, I went carefully went over the “show” surfaces with a card scraper for final cleanup, bringing the frames to completion. They’re ready for finish. Yes, I am going to apply finish before installing the glass and before final case assembly. Cleaning windows is never a lot of fun, especially removing shellac or wax.
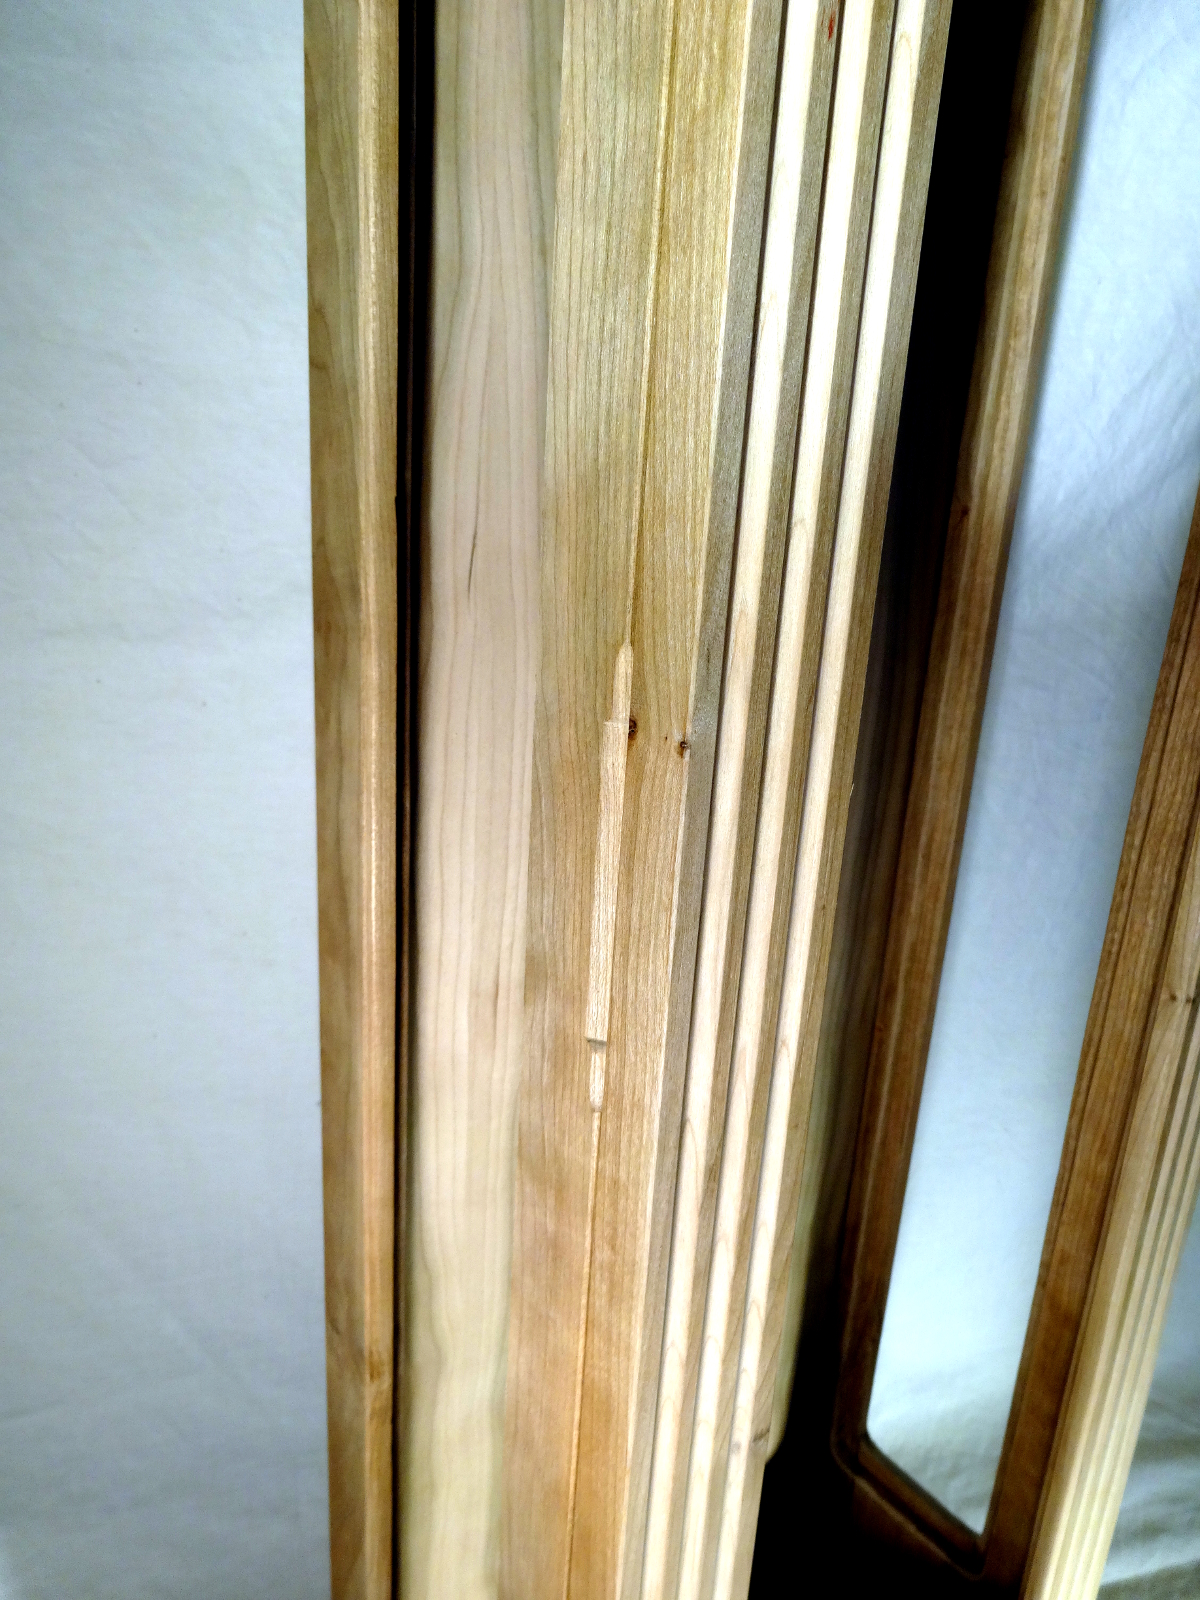
One last dry-fit confirms the basic case fits well together well, and allowed fine tuning the latches. Those are so simple that I didn’t take pictures. A magnet screwed to the side frame, and a steel plate screwed to the door, both placed to ensure the door stays closed but not so tightly as to be difficult to open. Speaking of opening the door, there’s no door handle or knob. Instead, I carved a fingernail notch into the side of the case … and finished it with a couple of lamb’s tongues.
When I get this close to finishing, it’s time to brand the piece. Branded with a hot iron on the back of the back panel.
Gratitude – the shop is almost warm enough to apply shellac.
Other articles in this series…
- Regulator Clock – Done
- Regulator Clock – Woodworking completed
- Regulator Clock – Scratching the frames
- Regulator Clock – Door Hinged
- Regulator Clock – Case Dry Fitted
- Regulator Clock – Jelly Side Down
- Regulator Clock – Case Frames – 2
- Regulator Clock – Glass – 2
- Regulator Clock – Case Frames – 1
- Regulator Clock – The Works work
- Regulator Clock – Glass
- Regulator Clock – Tongue & Groove planes
- Regulator Clock – Completed Mouldings
- Regulator Clock – Stick Mouldings
- Regulator Clock – Plate Mouldings
- Regulator Clock – Egg and Dart Moulding
- Regulator Clock – Eat Dessert First
- Regulator Clock – original description
- Regulator Clock – Stock Prep
- Regulator Clock – Plans for Moldings
- Taming the Rabbet
Leave a Reply