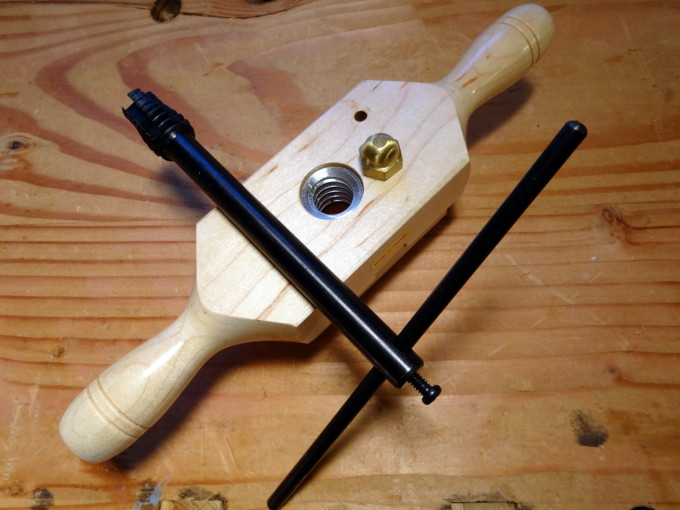
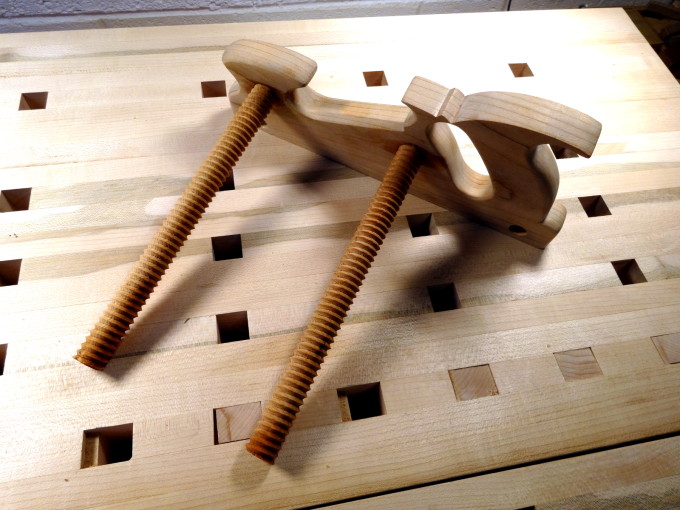
So, what are those threaded holes for? Threaded rods, of course. And the adjustable fence.
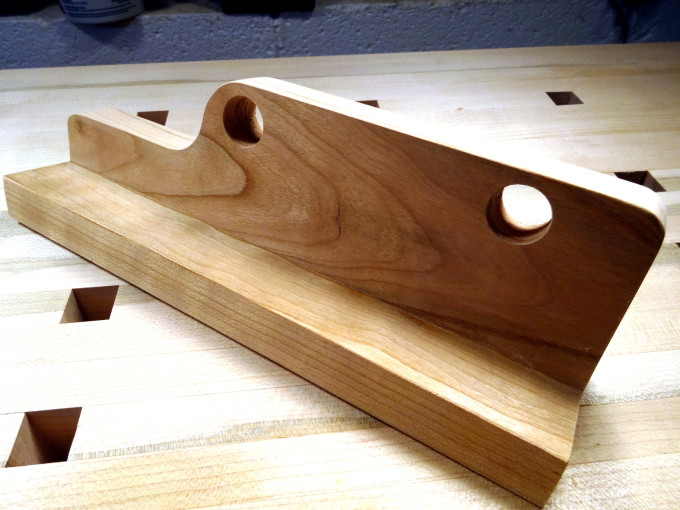
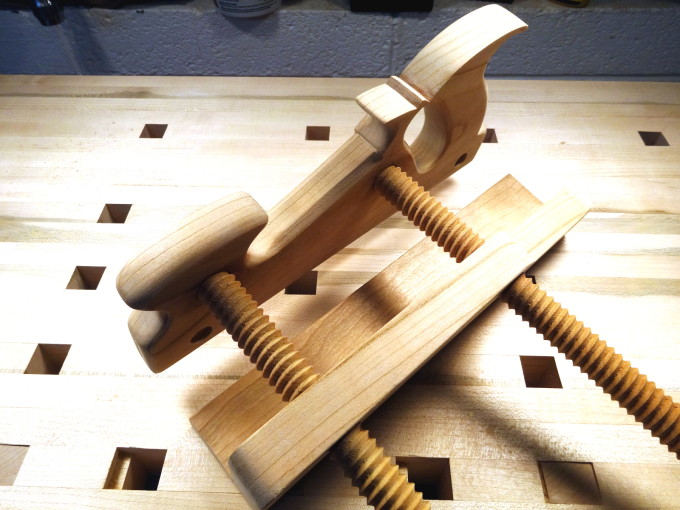
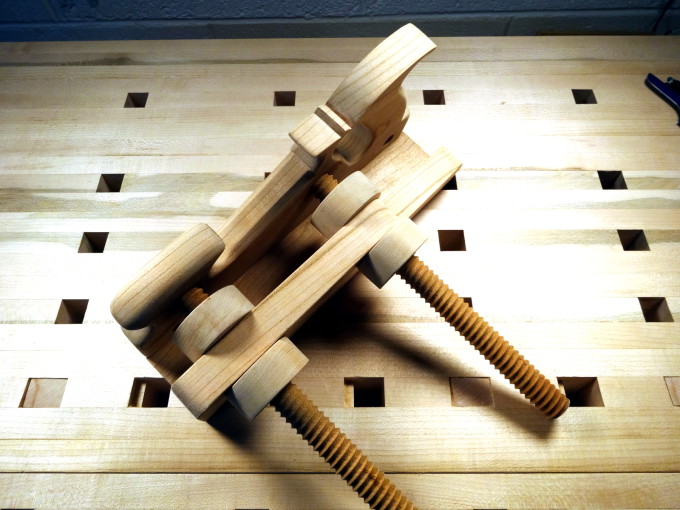
The fence itself is pretty simple, two pieces glued together with holes drilled to allow sliding along the threaded rods. Tom Fidgen planed off the bottom piece at an angle, providing a way of resting the plane at an angle which keeps the blade off the bench. I liked the idea and did the same.
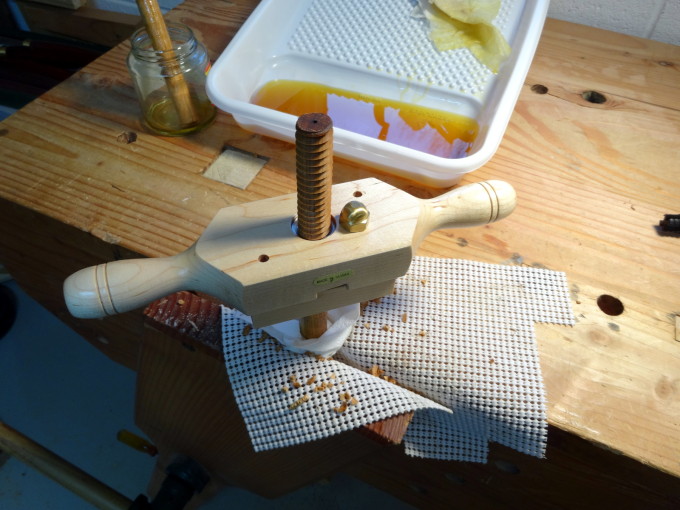
Now, the threading… I’ve read good and bad (too often more bad than good) about the quality wood threading kits. I was almost tempted to use metal parts (Hello McMaster-Carr), but decide to give the Woodcraft 3/4″ threading kit a try. It’s worked out very well! No problems, no horror stories. The cutters are plenty sharp enough for producing good results on cherry. I was careful to chamfer entry points, to lube the tap with BLO, and to soak the dowels overnight in BLO before threading.
The dowels are right on 3/4″ diameter, ripped from 4/4 stock and then turned on the treadle lathe.
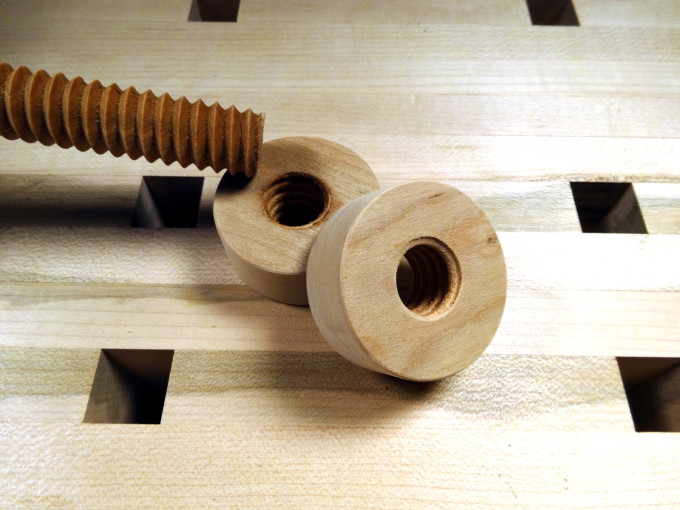
The nuts too are turned. I stacked four 4/4 blocks together with double sided tape, sawed off the corners and turned on the lathe. Each was then drilled with a 5/8″ auger and tapped. Easy-peasy. I left them round, rather than putting flats on the sides, because they are easy enough to grip and don’t need much torque to do their job.
It comes together very nicely, allowing the fence to be adjusted right up against the blade. I’ll cut the threaded rods down some after I decide how far I might really want to extend the fence.
Following along Bob, I have the plans from Tom’s book but this is the step that Has kept me from getting started. Thanks
Hi Rick,
Well, hold back no more. After numerous stories complaining of the poor quality of the cutting kits, I found this one very satisfying. I think two factors make a difference: wood preparation, and wood preparation. Yes, cherry is intrinsically easy to mill, but it can be made like butter by ensuring the starting dowel is the correct diameter and by an overnight soak in BLO.
Your spice box project looks like quite the challenge. Lots of joints. It looks like a lot of fun for someone willing to pay attention to detail. I’ll be watching…
Hi Bob, the comments were turned off of your previous post on this subject. So regarding the sawplate you repurposed from a Disston saw, what specs will you file it to? ppi? rake & fleam?
Nice job with the cherry dowels. But because I don’t have a lathe, I’ll be buying standard hardwood dowels. So it will be interesting to see how oak or walnut perform with this kit. I’m hopeful that soaking in BLO beforehand will tip the scales in favor of good results…
Hello Brad,
hmmm, thanks for mentioning comments being closed. That wasn’t intentional.
I intend to file the plate the same as the saws I use for resaw / ripping. It will be 5 ppi, 0 rake, 0 fleam. Resawing is a ripping action, so no fleam is needed. Zero rake is very aggressive, but works. Some even suggest 4 or 3 ppi for coarse resawing, but I’ve found 5 to work OK.
Along that line, I intend to use a method of setting up the plate that Paul Sellers published recently. See it here.
From the way the threading tool felt, I think it will work just fine with walnut and may need a bit more oooomph with oak. Soaking and good clamping will help. If store bought dowels are your only choice, select clear ones and check closely for size. A hand plane can bring them down to size if needed.
Thanks Bob, certain projects call your name I guess and the spice box was one of those and it certainly is a challenge but I am really enjoying it. Base moulding is almost complete and will start on crown moulding. The next post will show those as well as the splined panel back. I’m using a set of 6 and 8 hollow and rounds and a 7/8″ rabbet plane for the moulding, another woodworking bucket list item 🙂
Funny how I had never heard about soaking the threaded stock before hand. Good tip, thanks Bob. Do you pull it right from the bath and start threading? I bet that makes a mess of the tap.
I took the rods out of the bath and stood them in a glass jar for a few minutes to let most oil drain. Then, a quick blot with a paper towel made them less like handling honey-coated sticks. No problem with gunking up the tools; everything brushed away easily.