There are a lot more pictures this time because I read that a lot of people avoid saw making, rehabilitation and sharpening. I want to show that it’s within easy reach of anyone who wants to try and doesn’t care to wait while saws take long trips to the sharpener and back.
We can find many sharpening guides and tutorials online. Nearly all are very useful. For this particular saw plate, I followed Paul Seller’s recent tutorial about cutting saw teeth. The method worked wonderfully!
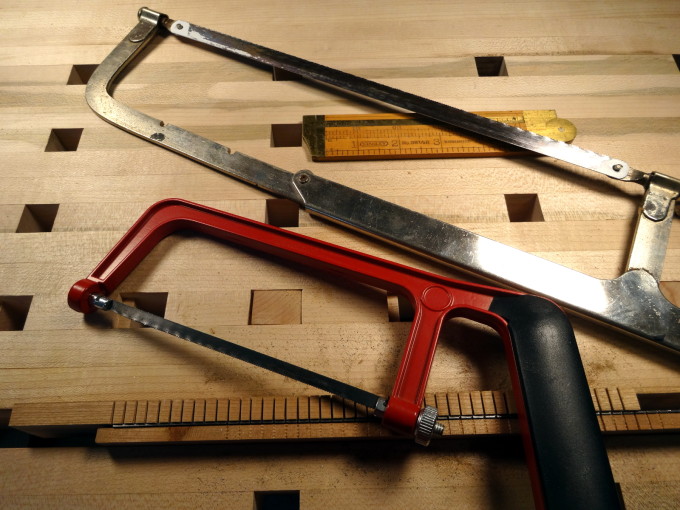
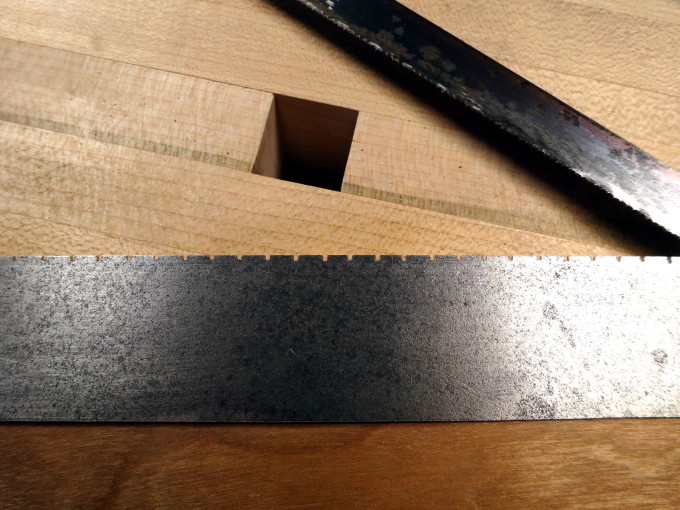
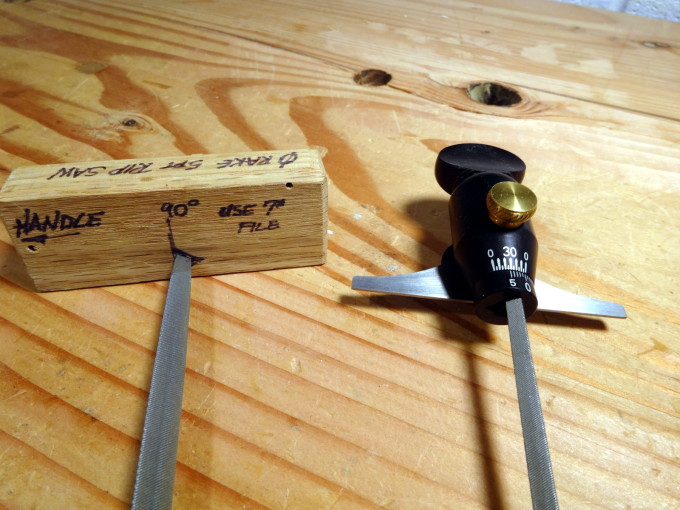
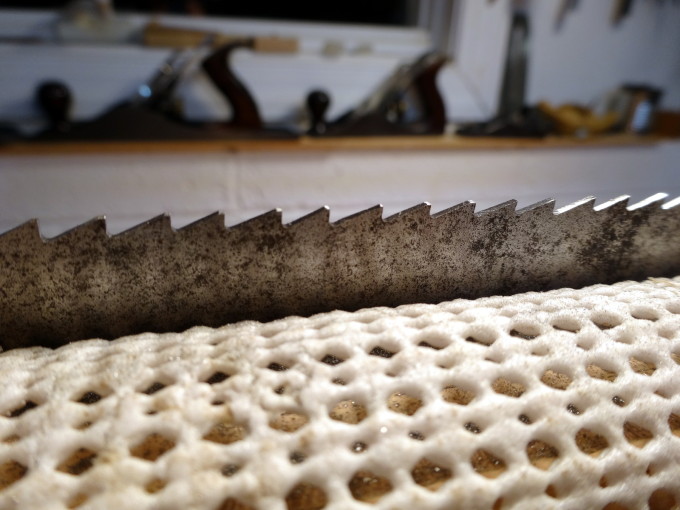
The plate itself is roughly 10″ by 1.5″, recycled from an old Disston that I cut down to make my frame saw a few years ago. Cutting to this shape was simple hack sawing. The tooth edge was smoothed “flat and straight” with a simple single-cut mill file. I decided to cut it to the same pattern I use for other resawing work, 5 TPI, zero rake, no fleam … just a dead simple aggressive rip pattern.
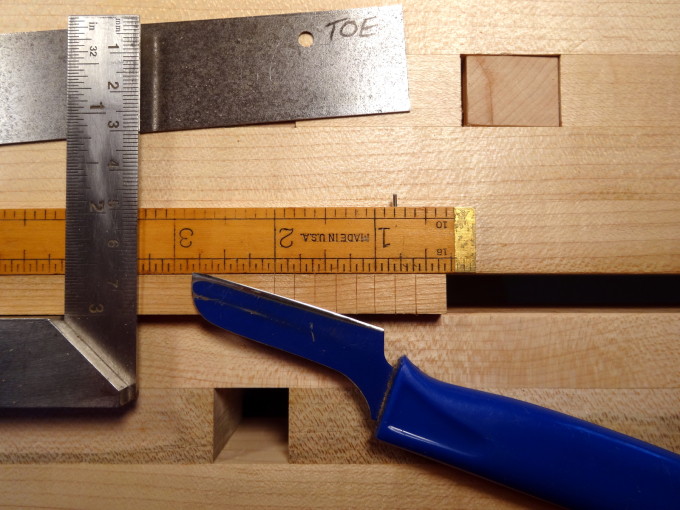
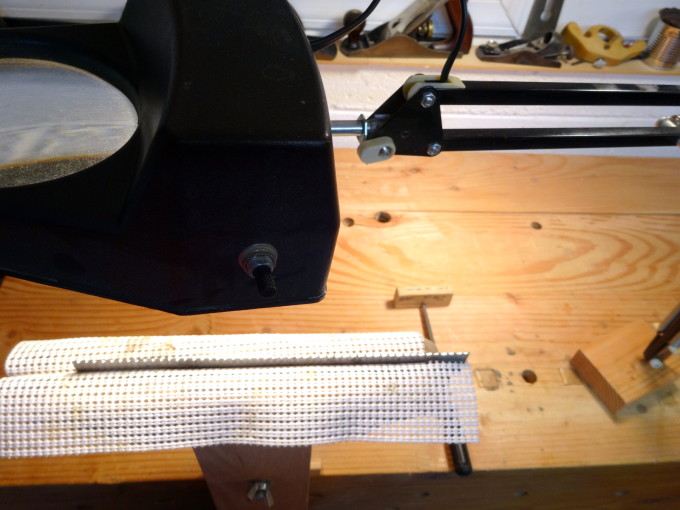
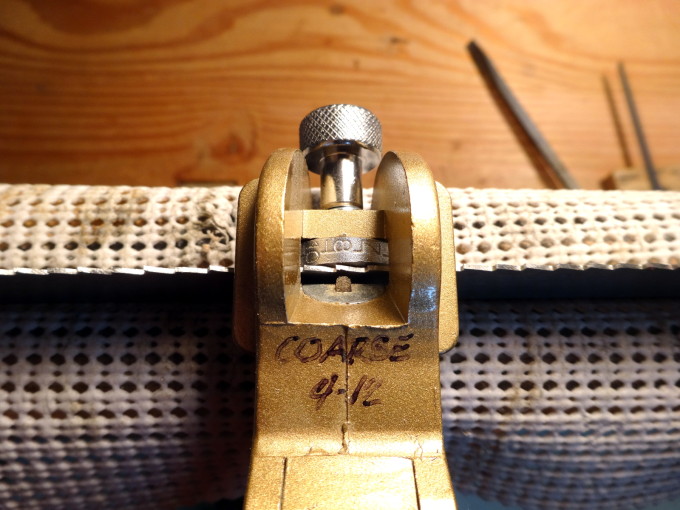
My ever handy Stanley No. 36 1/2 R rule has multiple scales in 8, 10, 12, 16 parts to the inch. The 10 scale made easy work of laying out a guide. The series of pictures walks through a number of steps, with notes about each. (Click any photo to start a larger slideshow.)
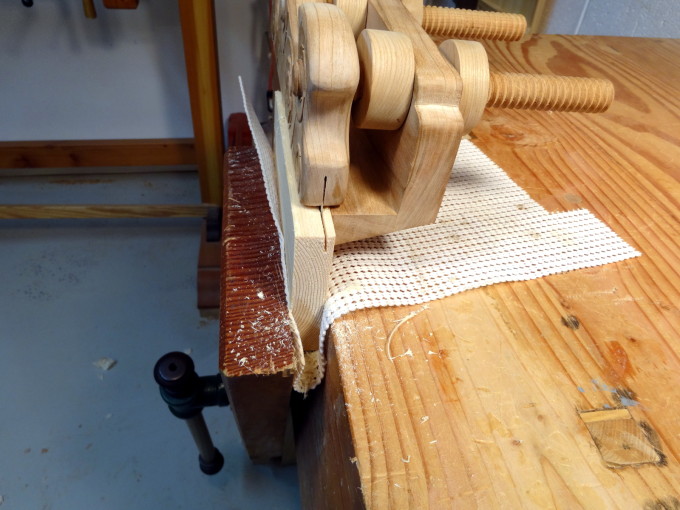
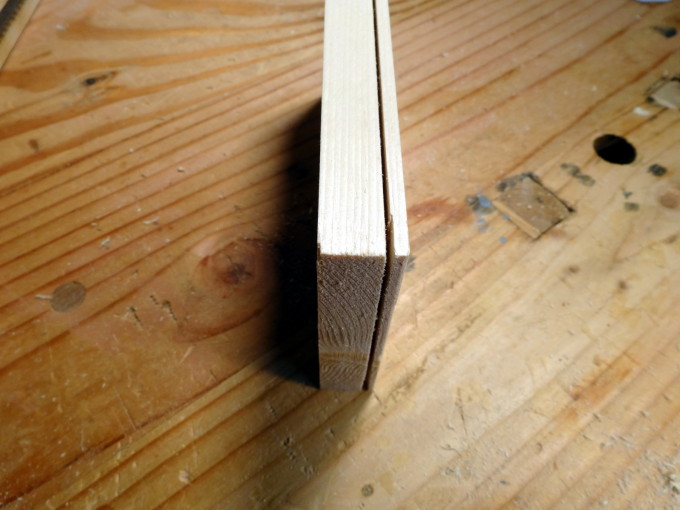
End result? A small piece of pine became the test victim. I set the fence to produce a kerf 3/32″ from the edge and went at it with only casual concern. What will this thing do without a lot of fussy attention? Cutting was easy once the initial grabbing was overcome. Hint: start from the far end as one does when planing a molding. You can see in one of the pictures that the kerf is not absolutely square. It’s tilted slightly. Despite that, I ended up with two boards that have less than 1/32″ of roughness left from the cut.
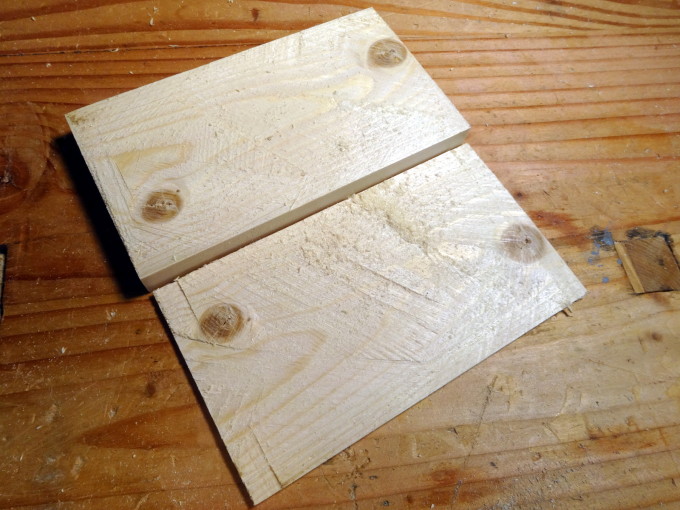
It will be perfect after I make an adjustment to either the face of the fence or to my right elbow.
UPDATE: It was my right elbow that needed adjustment. The plane is perfect when the monkey pushing it holds it correctly.
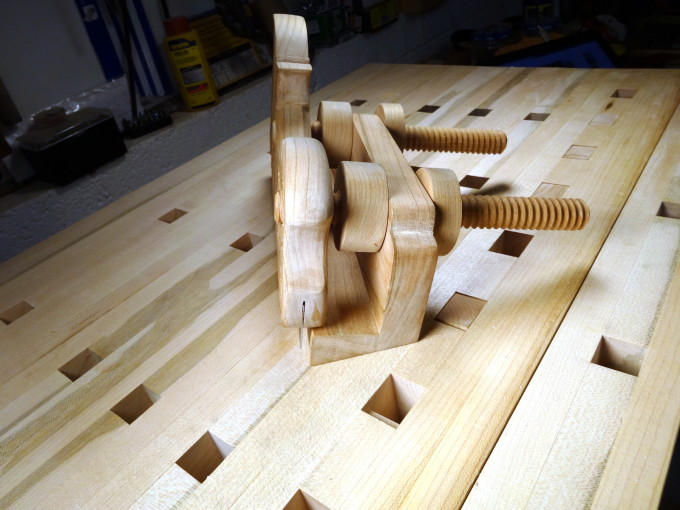
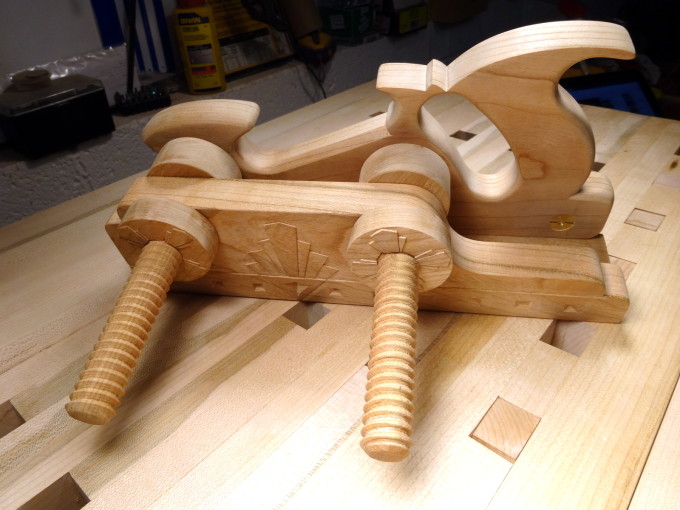
nicely done Bob
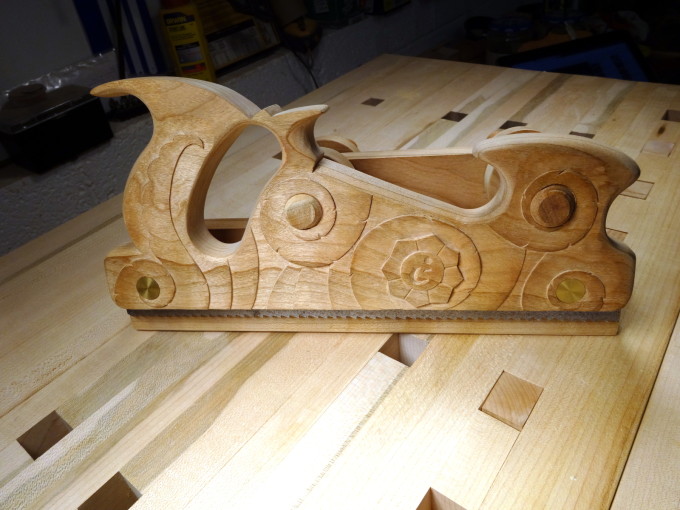
A beautiful tool Bob. Very well done. The carvings really set it apart.
Greg
Thanks Ralph and Greg!
Let the record show that adjusting my right elbow was easier than adjusting the fence. A slight bit more attention resolved the problem that caused the off angle.
I still have some leftover saw plate and stock laying about waiting for me to get a minute to make one of these. But the one thing that keeps nagging at me with everyone I see is whether that front horn is really necessary? Isn’t this used much like a plow plane where one hand cradles the fence and the other drives it at the tote? Does the horn come into play once the kerf is created?
That’s a very good point Shannon. Maybe the horn was useful for the first incarnation of the tool, the one without the adjustable fence. Like you, I find it works easier, or I feel I have finer control, with one hand cradling the fence. Using it like a plow is a very good analogy.
Bob, the plane is stunning! Your bas-relief carving is exceptional in both design and utilization, it’s like the plane that never was, the roaring twenties’ answer to a question they never asked. And then again reminiscent of Viktor Schreckengost.
And I love that it’s not perfect, because, how many of us make things not perfect?
Finally, thank you. From a guy who’s resawn a few 16 by 16 pieces I wish I’d known that saw existed before now.
Carl
Thanks Carl!
Actually, the plane is near perfect. It’s my right elbow that’s out of whack … or the synapses that control it. The plane ~can~ make a perfectly plumb cut.
Your new bench is going to soon be too pretty to use.
Keep havin’ fun!
Thanks for posting the slide show. I love your carvings and learn a lot from your blog.
Very nice lovely work.