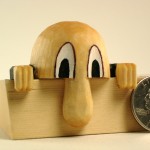
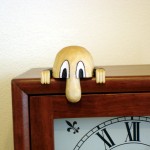
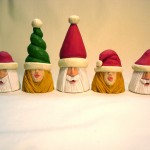
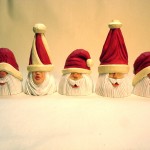
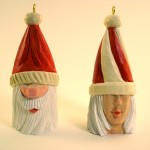
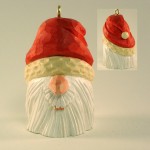
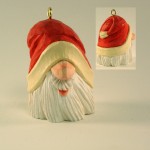
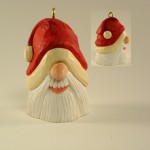
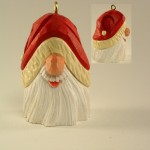
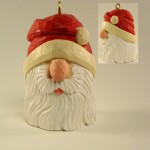
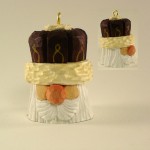
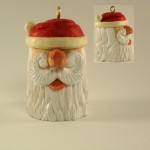
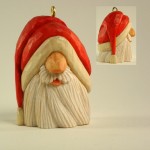
Pictures of woodworking and boat building projects for this blog are usually made in the workshop and show a well used workbench and other shop environs in the background. Those are suitable to the subjects. However, these backgrounds make small woodcarvings look like they’re lost in the slums. Need better!
When I was a youngster, our “dining room” doubled as Dad’s portrait studio. He was a professional photographer, professional sign artist, and a “graphic artist” highly skilled with many different media. He did his work with serious photographic equipment and real art tools long before computers brought some of these things within our reach. Dad supported a family of 6 with his art work. While I learned a tremendous amount from him, I did not pursue those professions. Yet, I do remember the backgrounds and lighting arrangements that made his portraiture work excel.
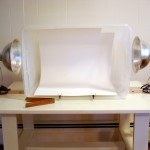 Diffused light from several sources and careful management of shadows and highlights are keys to success. Today, one can easily find lightboxes that help even us amateurs produce reasonable pictures. A lightbox is what I wanted as I started photographing carvings.
Following an ingrained do-it-yourself streak, I made my own. I had all of the components already on hand, some seeing only occassional use. So, this turned out to be a no cost lightbox. It can be easily duplicated for quite a low cost, depending on what you have around the house or shop.
The box itself is a plastic storage box that is about 22 inches by 15 inches by 12 inches deep. Wallmart calls these “56 quart storage containers,” and sells them for about 6 dollars each. The clamp lamps are the 8 inch size and are available in home centers for 6-8 dollars apiece. I used a piece of watercolor paper for the background. 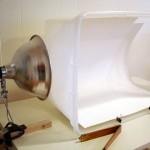 It is simply curled within the box, not folded, and held in place by the two little black clips. A couple of squeeze clamps and some scrap lumber hold the clamp lamps in place. It’s all very simple. The plastic has enough milky tinting to eliminate the need for any cloth to diffuse the light. Regular (pre-ban 100w) incandescent bulbs provide more than enough light.
The box is easy to use. Set up the object within the box. Use a tripod for the camera, and be sure to set the camera’s white balance to display the colors you actually see. I sometimes use three lights, placing one in front to gain the balance of highlights and shadows that I want.
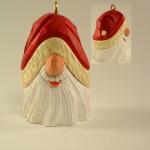
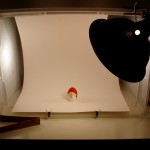 Now, I can produce pictures that let one pay attention to the woodcarving itself, and not the dings, dents, and stains of a well used workbench.
Go raid the storage closet, or head off to Wallmart, to get the stuff needed for a low cost / no cost lightbox.
