• Skip to primary navigation
  • Skip to main content
  • Skip to primary sidebar
  • Skip to footer

Bob Easton

Chocolate powered woodworking

  • Home
  • Grinling Gibbons Tour

Hand tools

Saw Clamp

January 15, 2013 by Bob Easton 3 Comments

photo of saw clamp in use
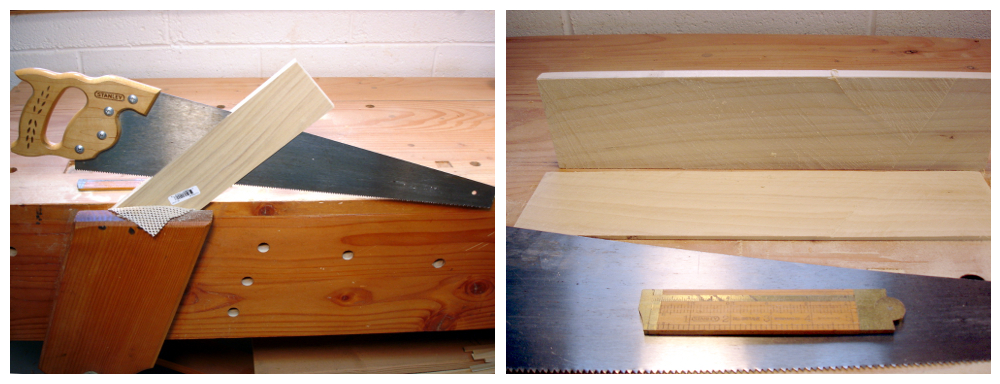
Until now, my infrequent saw filing has been assisted by holding the blade between a pair of 1x2s placed carefully in my bench’s leg clamp. It had two problems. One, it took two men, a little boy, and a monkey to hold all the parts “just so” and get it clamped. Two, oh my aching back bending over it.

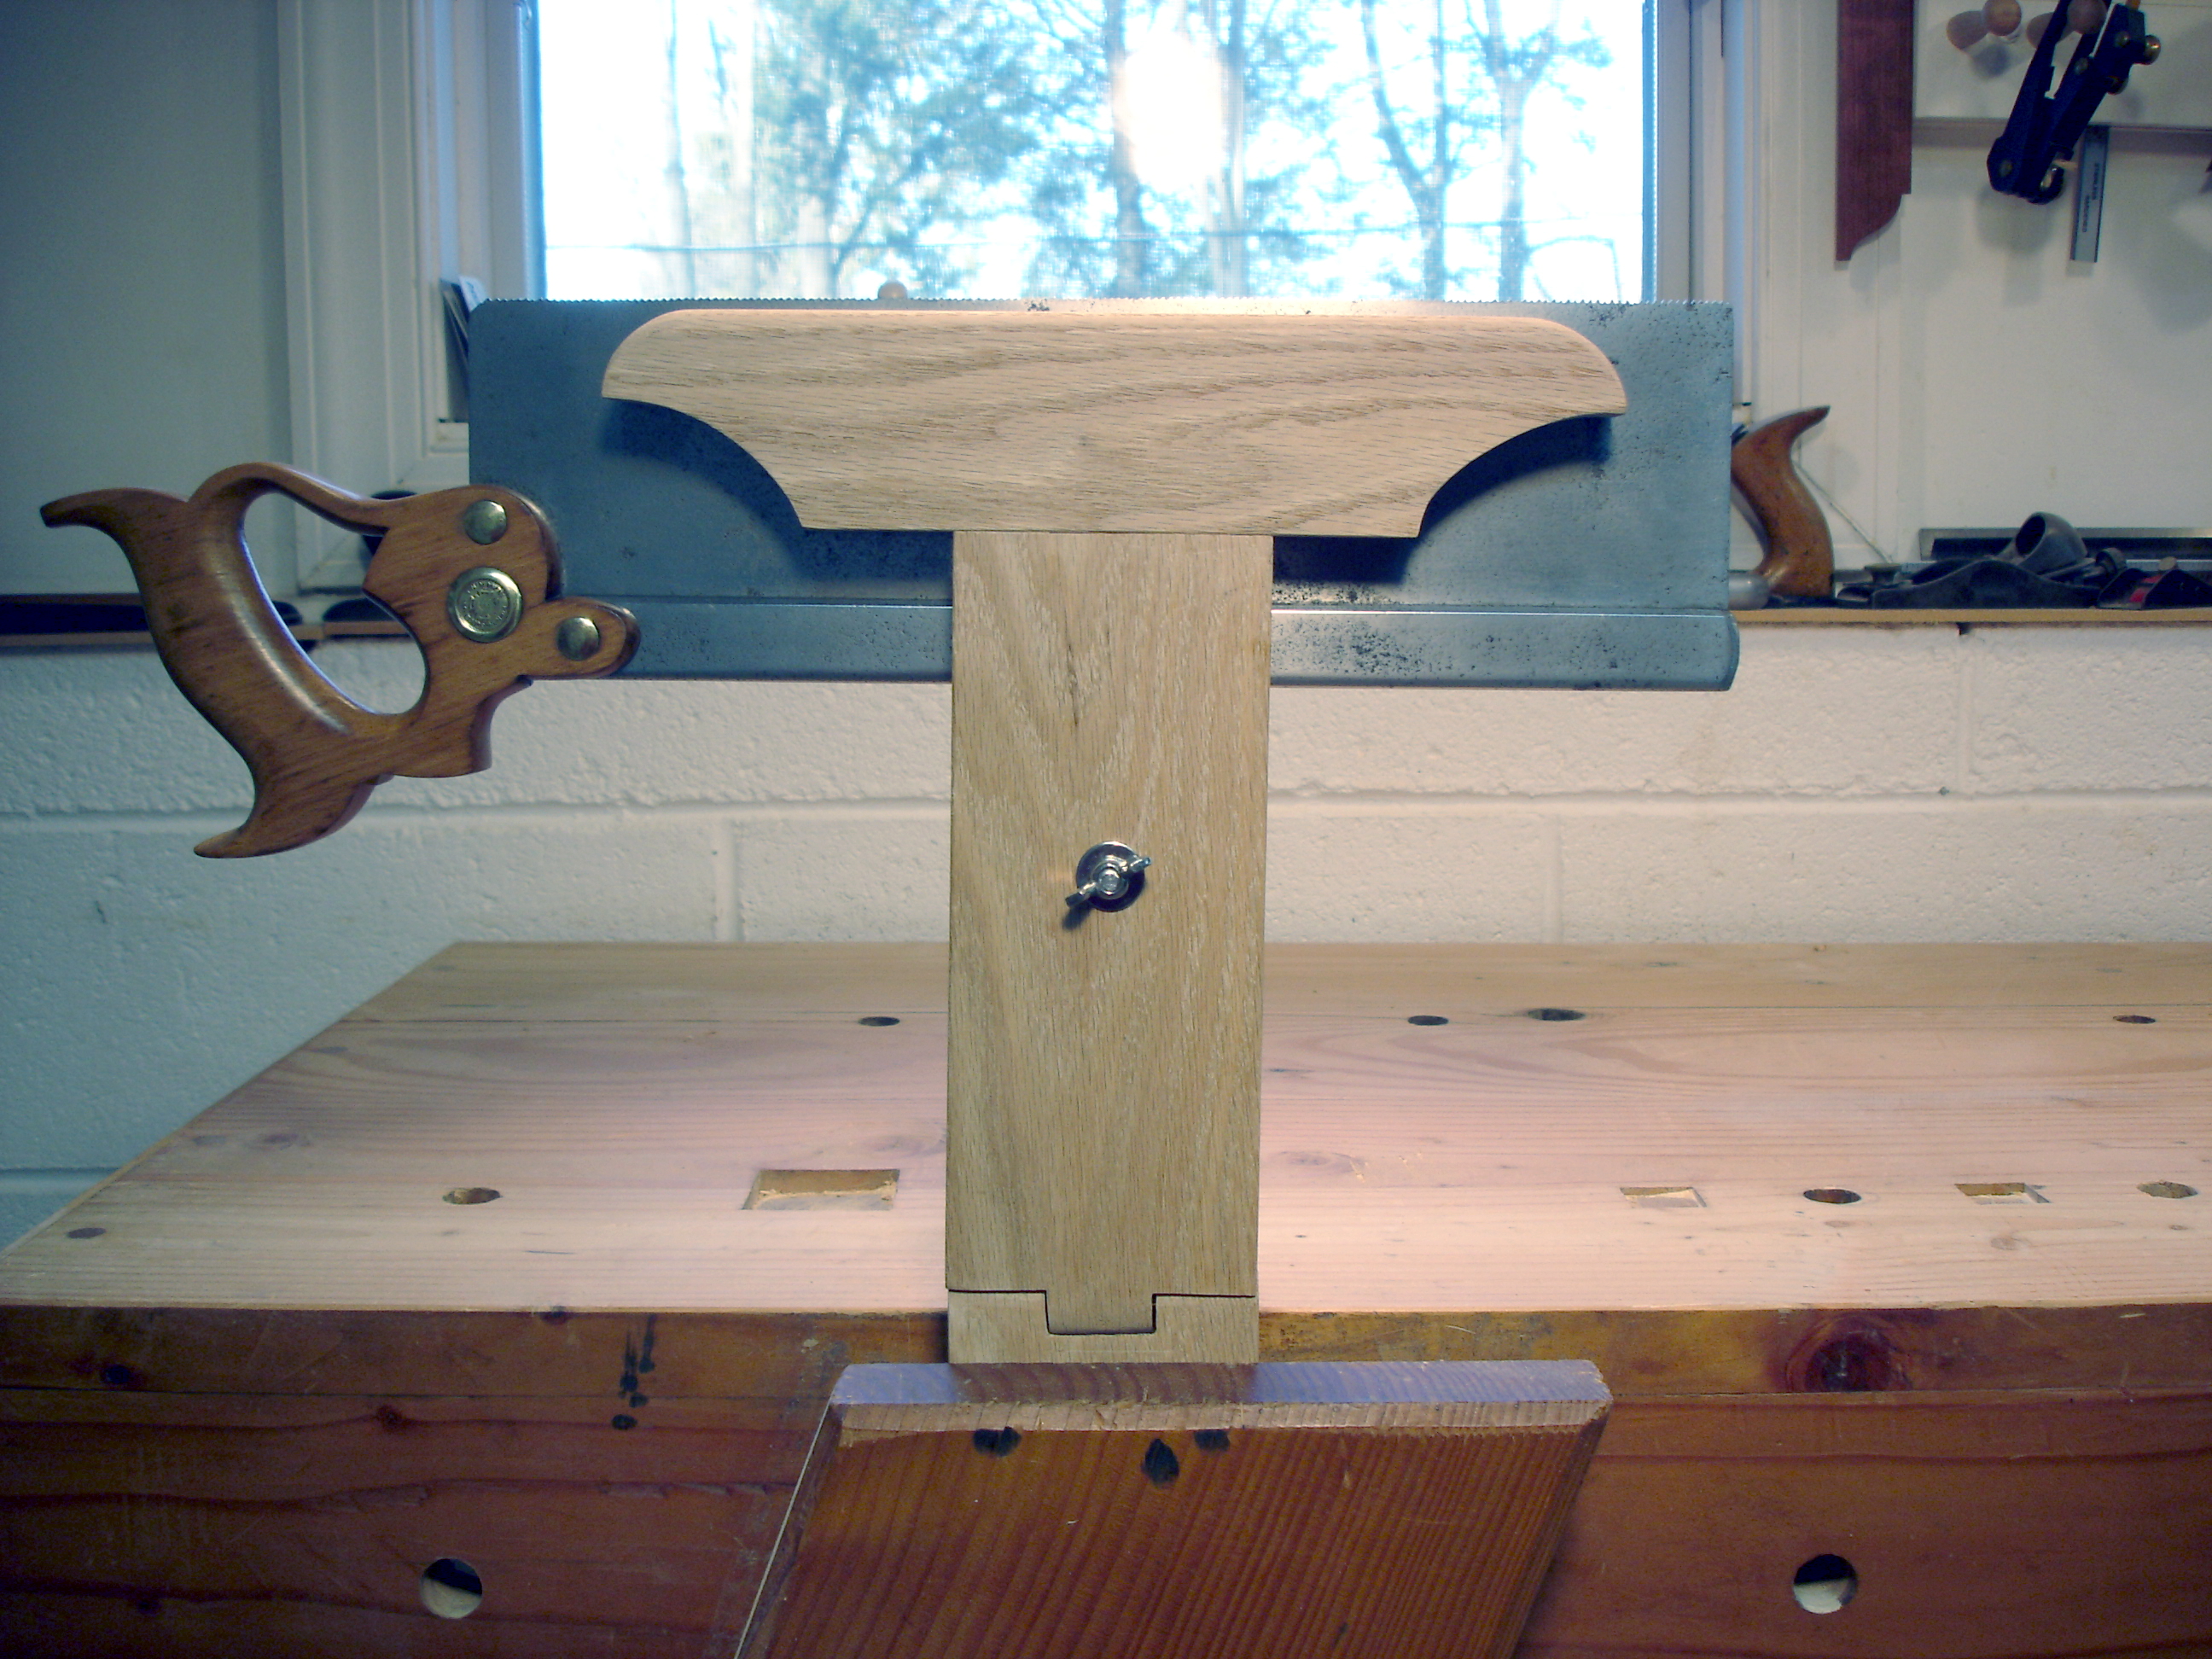
The activity is not frequent enough to warrant buying a fine metal clamp, but does warrant a bit of DIY time and about $6 worth of oak. I side view of saw clamp
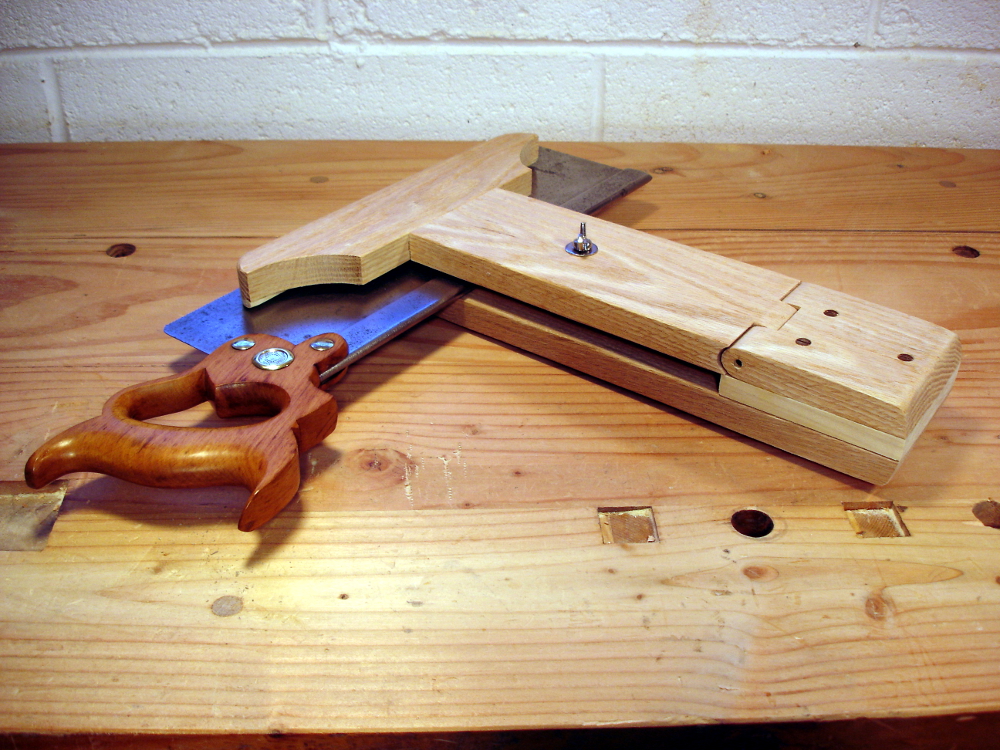
found drawings on a blog post by Paul Sellers and got to work. Straightforward … until I noticed the rounded hinge. Hey, a simpler square edge hinge, not housed, would work just as well.  No, that’s the wimpy way out. Carve that hinge, and if it really fails, square off the mess into the simpler version. It worked.

The hinge pin is a piece of brass tubing that I had on hand. That’s a carriage bolt and wing nut that tighten the jaw.

The clamp works beyond expectations, perfectly well for as often as I need it.

Filed Under: Hand tools, Shopmade

Saw Rehab – Stanley 26″ Rip Saw

January 12, 2013 by Bob Easton 2 Comments

This one is not a refurbish project. It’s simpler, a rehab, if you please. As can be seen by the handle, this is not a priceless antique. It is one that I purchased new at some big orange home center, maybe in the 1980s. It clearly dates to the era when handles sank to their ugliest just before Buck Rogers style plastic handles. The saw has a 26 inch plate and is filed rip, 7 TPI. … and the hang hole in the tip was drilled by the manufacturer, not me.

I once picked this saw up during my earlier boat building days, and just as quickly set it aside. It didn’t cut well and had a noticeable kink about midway along the tooth line. If memory serves, the most previous abuse was cutting sheetrock or some other kind of rock.

Removing the kink

Read enough around the Internet and you’ll think you need a blacksmith’s anvil and planishing hammers to take the kink out of a saw blade. TRY THIS FIRST: I removed the handle, just to make it easier to mount the handle end of the plate in a vise. Once about an inch of the plate was tightly clamped, I curled the saw first one way, then the other. Don’t be bashful. FIRMLY grab the toe end, pull it around toward the handle end. Once you reach a “U” shape, keep on going, running the curl up and down the length of the plate. Repeat a few times to both sides. Like magic, the kink was relieved and smoothed away.

photo of saw cutting woodSharpening

No magic. The teeth were not really in bad shape, just dull. Sighting along the line, I saw that all were even enough to not even warrant a flattening filing. I simple hit each tooth with a couple of swipes of the file and then tested. Tops: 20 minutes.

The first job for this “new again” saw (OK. it really needs to have the plate cleaned) was resawing a length of 1×4 poplar. I was very pleased to find the saw working straight and true, and running easily.

Filed Under: Hand tools

Saw Restoration – Richardson Backsaw

January 11, 2013 by Bob Easton 5 Comments

The eBay seller warned that hand saws were not part of her expertise. So, I didn’t ask for details. The photos were good enough to think it worth bidding.

Richardson, later Richardson Brothers, was a saw manufacturer in Newark New Jersey, about 20 miles down the road from where we live. From what I’ve learned, Richardson made highly respected products. They had one of the early patents for taper grinds on full length saws. Long story short, it seems they were also a very strong competitor to Disston. One contention is that around 1890 Disston manged to “do away” with some of its competitors by buying them and throwing them into a conglomerate known as “National Saw” which died in 1906.

This particular saw has a medallion that carries the 1867 patent indication placing it later than that date, and before the company started marking their products with a “Richardson Brothers” brand in the late 1870s. The stamping on the spine is an arched “Richardson” with “Newark NJ” below the arch, “Cast Steel” to the left, and “Warranted” to the right. The blade measures 14 inches long and has a depth under the back of  3 and 3/8 inches. It is 0.029″ thick.

4 photos of the saw as I received itThis saw did not lead as sheltered a life as the Disston #4 I restored a couple of weeks ago. Whoever owned this Richardson used it hard,  probably never sharpened it, and then left it where it gathered a good bit of rust and pitting and lost most of the finish on the handle. The area of the handle where one grips still had a little varnish and several kinds of “donor paint.” The end where it meets the plate was bare, dry, and heavily stained. The upper horn has a bit split off the underside and presents a ragged edge to the web of the hand that holds it. The plate has no dents and is absolutely straight, as is the spine. It was filed 12 TPI, rip, and arrived in my hands with absolutely no set.

4 phots of the restored sawI restored this blade the same way I did the Disston, with a (very long) bath in Evapo-Rust and then lots and lots of sanding. There is still a good bit of pitting and maybe a long session with a belt sander could solve that, but my belt sander has yet to be purchased. I sanded off what little finish remained on the handle and sanded some of the stains away. There’s no need to reshape this handle because it was already of the era when they made them nice and comfortable. As for the split out area on the upper horn, I voted against splicing in a repair and simply carved that area to a new smooth profile. I’m unsure, but think the handle material to be apple which was very prevalent at the time. Finish is 3 coats of clear shellac ending with wax rubbed in with steel wool.

My sharpening required reducing the teeth down to about 50% of their original height before I got a nice row of flat spots to work from. Then I sharpened the toe end with relaxed rake for a couple of inches with the rest sharpened at near zero rake, all on the original 12 TPI. I now have two very nice back saws and might opt for a third for smaller dovetail work.


Filed Under: Hand tools

  • « Go to Previous Page
  • Page 1
  • Page 2
  • Page 3
  • Page 4
  • Page 5
  • Page 6
  • Interim pages omitted …
  • Page 15
  • Go to Next Page »

Primary Sidebar

Footer

Recent Posts

  • New Frame Saw / Scroll Saw
  • Lamppost Sign
  • Goodbye PayPal – Goodbye Bob’s eBooks
  • Anarchist’s Workbench is Done
  • Why we keep offcuts…

Categories

  • About
  • Artwork
  • Boatbuilding
  • Boating
  • bowl carving
  • Boxmaking
  • Clocks
  • Drawings
  • eBook
  • etude
  • Eva Too
  • Eva Won
  • Fiddlehead
  • Fiddlehead model
  • Flying
  • frame saw
  • gilding
  • green woodworking
  • Grinling Gibbons
  • Guns
  • Hand tools
  • Humor
  • kerfing plane
  • Lettercarving
  • Mill Creek 13
  • Model building
  • Power tools
  • Rant
  • resawing
  • scroll saw
  • Shopmade
  • sign painting
  • Stonework
  • Swimming
  • Technology
  • The Wall
  • treadle lathe
  • Uncategorized
  • VSD
  • Woodcarving
  • Woodturning
  • Woodworking
  • workbench

Other stuff

  • About
  • Contact
  • Privacy Policy

Copyright ©2024 · Bob Easton · All Rights Reserved