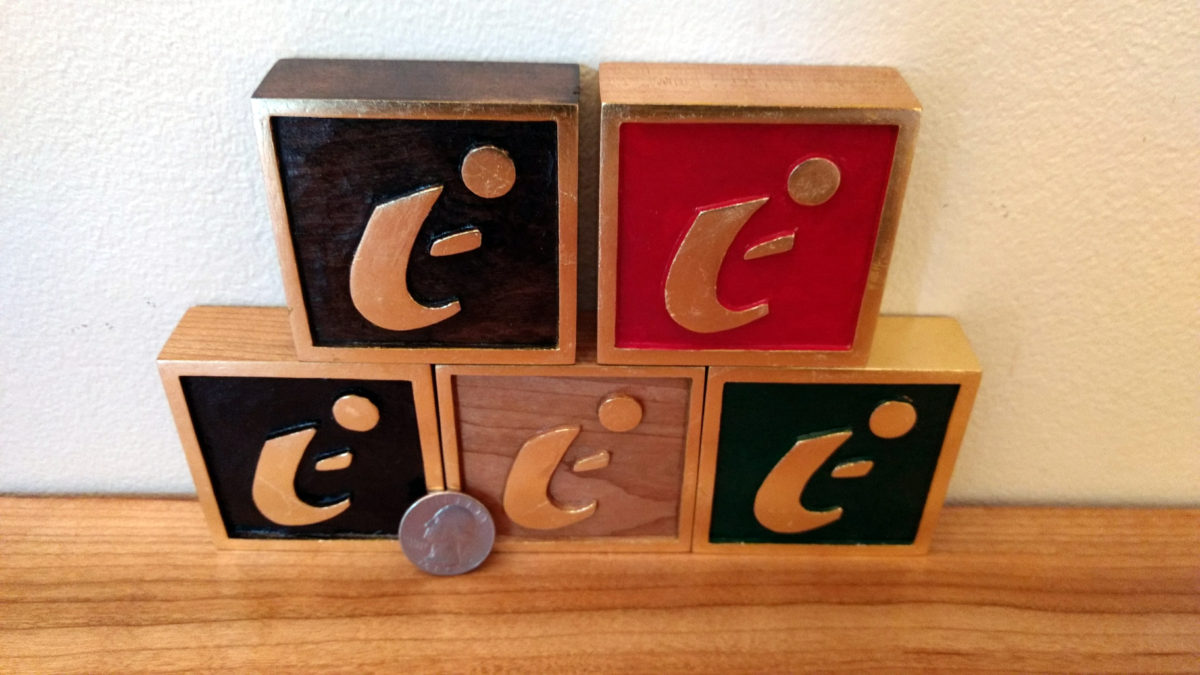
Gilding practice… Practice for a series of signs I’ll show some other day.
The blocks are cherry. The “E” is my wife’s creation from several decades ago. The carving was the easy part. (Carving depth is about 1/8 inch.)
The top left block was ebonized on all surfaces. Three others have painted central panels (Acrylic artist color). Most edges were left natural, except for the top of the green block, which is also gilded.
Gilding is “composite” gold leaf laid over a yellow burnisher-sealer. (Dux brand from Sepp Leaf Products) The burnisher-sealer layer, is actually 3-5 coats of a chalky paint that fills the wood pores and provides a smooth base for the gold leaf, after a good bit of tedious work with 600-800 wet-n-dry paper.
Sign Painters’ One Shot “Fast Dry Gold Size” gets to the right degree of tack in 75-90 minutes.
I’ve learned that the best way of applying the leaf is to do as John does, slide the leaf gently onto the work at an angle. That minimizes the folding, crinkling, and breaking that happens with other methods of applying the leaf. Immediately after covering the entire object with leaf, I place one of the thin tissues from the leaf booklet over the top of the laid leaf and burnish it with fingertips. I hold the tissue absolutely stationary to avoid scratching the leaf. Within a few minutes, I repeat that fingertip burnishing to assure good adhesion. Then, — wait, wait, and wait some more —. The size takes a good 15-20 hours to cure. When the size is completely cured, I remove the excess gold, often with the aid of a stick cut to resemble a small sword.
After gilding is satisfactory (occasional voids patched), I complete with two coats of Dux Clear Topcoat. This stuff is advertised as “water clear” and it certainly is. Pop the lid off the can and it’s like looking into a can of water.
Special thanks to John Eugster who has been writing about the gorgeous carved and gilded frames he makes for his wife’s beautiful paintings.
