Or, maybe we could call this post “Waiting for epoxy to cure, episode 496.”
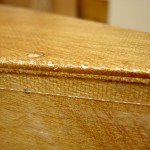
Let’s prep the rub rails while that last coat of epoxy is curing. They’re easy. These will go on the outside of the hull just below the edge of the deck, and are intended to take the abuse of banging into docks, other boats, and such. They’re skimpy little things 1/4 inch by 3/4 inch, ash, scarfed lengthwise to a bit longer than needed. … and still longer than my wonderfully long, but still too short, bench. Preparation of these parts includes three operations. 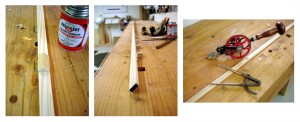 I taper the height of the rail for about 18 inches toward each end. Shortening the height by about 1/8 inch at the ends, shaved from the bottom edge, subtly accentuates the curve of the sheer.
Next, the edges are chamfered. One could use a dedicated chamfer plane for this, but I decided to use the money for 438 Milky Way bars instead. My method of chamfering these long pieces uses a collection of little 45 degree blocks, adhered with my favorite temporary adhesive, and propped up against a row of dogs. They laughed when I made a dog for every dog hole in my bench. A few block plane passes, flip the other way, and a few more block plane passes, and we’re done chamfering. Lastly, a 1/16 inch hole every 4 inches sets these up for nailing to the boat. I’ll set them aside now and attach them later.
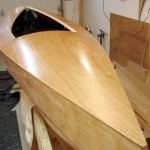
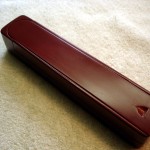
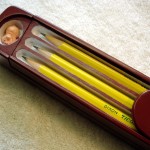
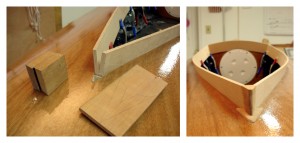 Next day, that epoxy is cured enough to work around. So, let’s fit out the coaming. It is mostly 6mm plywood which gets attached to the carlins around the cockpit opening. The raw edges on the front are covered with a nose block. Mine is a bit different than the one pictured in the builder’s manual, and of course I like mine with its arrowhead base, better. This is really fussy work. Everything is either curved or angled. The block and arrowhead are built up from small bits of mahogany (Never throw anything away). Here again, this prep work gets done to a certain stage, pieces get marked with “p” or “s,” and then set aside.
Next … why one needs 438 Milky Way bars.
