Anyone should be able to build an Adirondack chair in a weekend right? Go get some wood, whack out the parts, screw it together, and slap on some paint. Right? Dang! Why build one at all? Down at the nearby garden center, they have some for sale at $39. Of course, those look like they were made from pallet wood and are flat in every dimension. They might not “sit” so well.
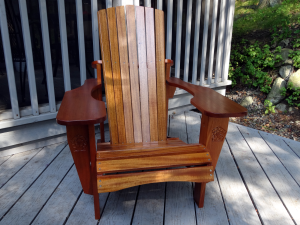 This one started with some wood resawing back in April. I finally wrapped it up and moved it outside a couple of weeks ago.
Plans: I’m old enough to like things comfortable. Too many of these chairs have flat seats, flat backs, and look more like torture devices than chairs. I found one with curved seat and back. It’s a Fine Woodworking project. Oh look! It says “An Adirondack chair can be built in a day.” A companion article contains a video with a foolproof assembly sequence. 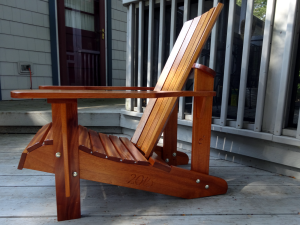 Plans are available for order, but by squinting (and imagining) a lot, I found enough detail in the low resolution online drawing. Who needs precise dimensions?
Lumber: 8/4 Mahogany (African) from Steve Wall. One 20 bd. ft. bundle will do if careful when resawing. 🙂
Process: No electrons (other than for lighting) were murdered in creating this chair. 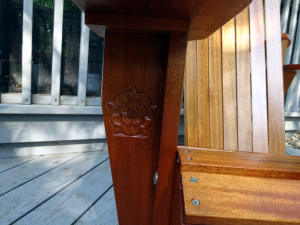 Nor were numerous photos taken along the way. It’s a simple one-day project, right? I resawed the 8/4 stuff into boards of two thicknesses, approximating 1″ and 3/4″. From those, I hand sawed all of the parts. I used the saw and chisel technique on all curves, and then faired them with a spokeshave. I drilled the bolt holes with a simple brace and Jennings bit, then the bazillion screw holes with my eggbeater and Fuller bits which drill a tapered hole and countersink all in one go.
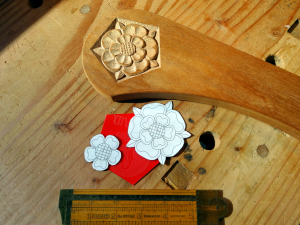
Carvings: 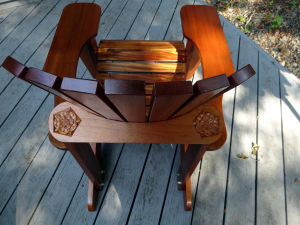 Everything I make these days carries one or more carvings. Carving is what I enjoy most. The rest of woodworking is to make something that supports a carving. This chair has 4 Tudor Roses adapted from Mary May’s Tudor Rose lesson. It’s not that there’s any commonality between Tudor Roses and Adirondacks. It’s just that I like them. Add in a little bit of lettercarving with a year mark on one leg, and I’m delighted.
Finish: Three coats of Minwax Helmsman Semi-gloss spar varnish. I used to hate brushing on a finish … and I have no place where I can use any sort of spray. This was one of the first finishing projects I actually enjoyed. Two reasons: getting the work at a comfortable height (saw benches) and using a very good Purdy 1″ soft bristle angle brush.
Once done, it “sits” well, very comfortable indeed.
