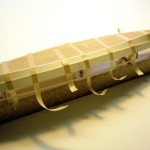
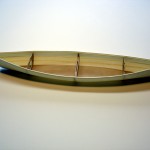
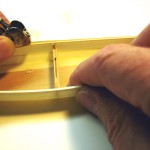
 Planking continues from the bottom up: the other garboard, the middle planks and the sheer planks.
A difficulty I discovered was in fitting and trimming. The planks are slippery, especially at the lapped faying surface. They are hard to hold in place steadily enough for accurate marking. The solution (and why didn’t I take a picture?) was to temporarily attach a batten to the lower plank, right at the lap. Then, the next plank can be rested against the batten and marked.
 As before, masking tape makes the best clamps.
You can see “the gains” at the far right end of the mid plank photo. The overlap gradually becomes an edge-join before reaching the stem.
Once all the planks are attached, we can remove the boat from the building horse and then trim the sheer plank down to the edge of the clamp. More fun with my favorite plane.
 By the way, attaching the model’s planks with glue is much easier than clinching with tacks as I will do for the 1:1 version. Copper tacks, 3/4 of an inch long, are pressed through the overlapped joint. As they are hammered in, a curve shaped iron is held inside the boat. The point of the tack strikes the iron and is turned back on itself, making a j-shaped fastener that holds tight. There are only a few hundred tacks needed on thie size boat.
Click on any image to show a larger version.
Leave a Reply