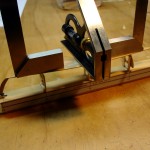
 With the stems properly positioned, it is easy to attach the bottom. It has a little bit of rocker and needs a few weights to hold it in place. It’s ironic that I have so many squares. Very few things in boats are either square or straight. So, this is what they’re good for. The 1:1 version uses screws for fastening. Screw fastenings were yet another reason to build up the bulkheads from solid wood, even if it was thin.
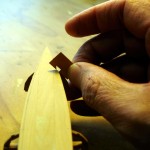
 The bottom is cut oversize so that it can be trimmed to exact size once it is affixed to the frames. But, how to mark? Marking where the frame meets the bottom id easily done, but to the wrong side of the board. How can we reliably get that mark to the side where we can use it? A very nice little marking tool does the job. Lay it against a frame or bulkhead and mark the extension on the bottom.
 Mark three places along the side. We then have five points defining the bottom’s shape, the 3 marks and the points of the stems at each end. Fair those marks with a batten. Be generous with bending or bowing the batten. Keep the line smooth.
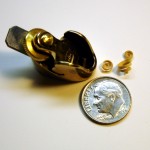
 Then comes the fun with my favorite small tool. This is a small bronze luthier plane. available from Lee Valley tools. It is a jewel of a plane, simply wonderful to use. We will use it quite a bit in building this boat.
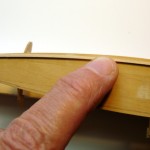
The bottom is planed to the line, including setting a bevel on the edge that matches that of the bulkheads and the frame. Then, the edges of the bulkheads are given a bevel that matches the fore and aft curve defined by the bottom.
Click on any image to show a larger version.
Leave a Reply