Three bundles of 6 boards each are ready. …almost. Those following my build of the Anarchist’s Workbench know what’s next; another glueup. Because this one is dealing with thick bundles of boards that have little flex, they need to come together without depending on clamps to close large gaps. Eliminate those gaps before gluing.
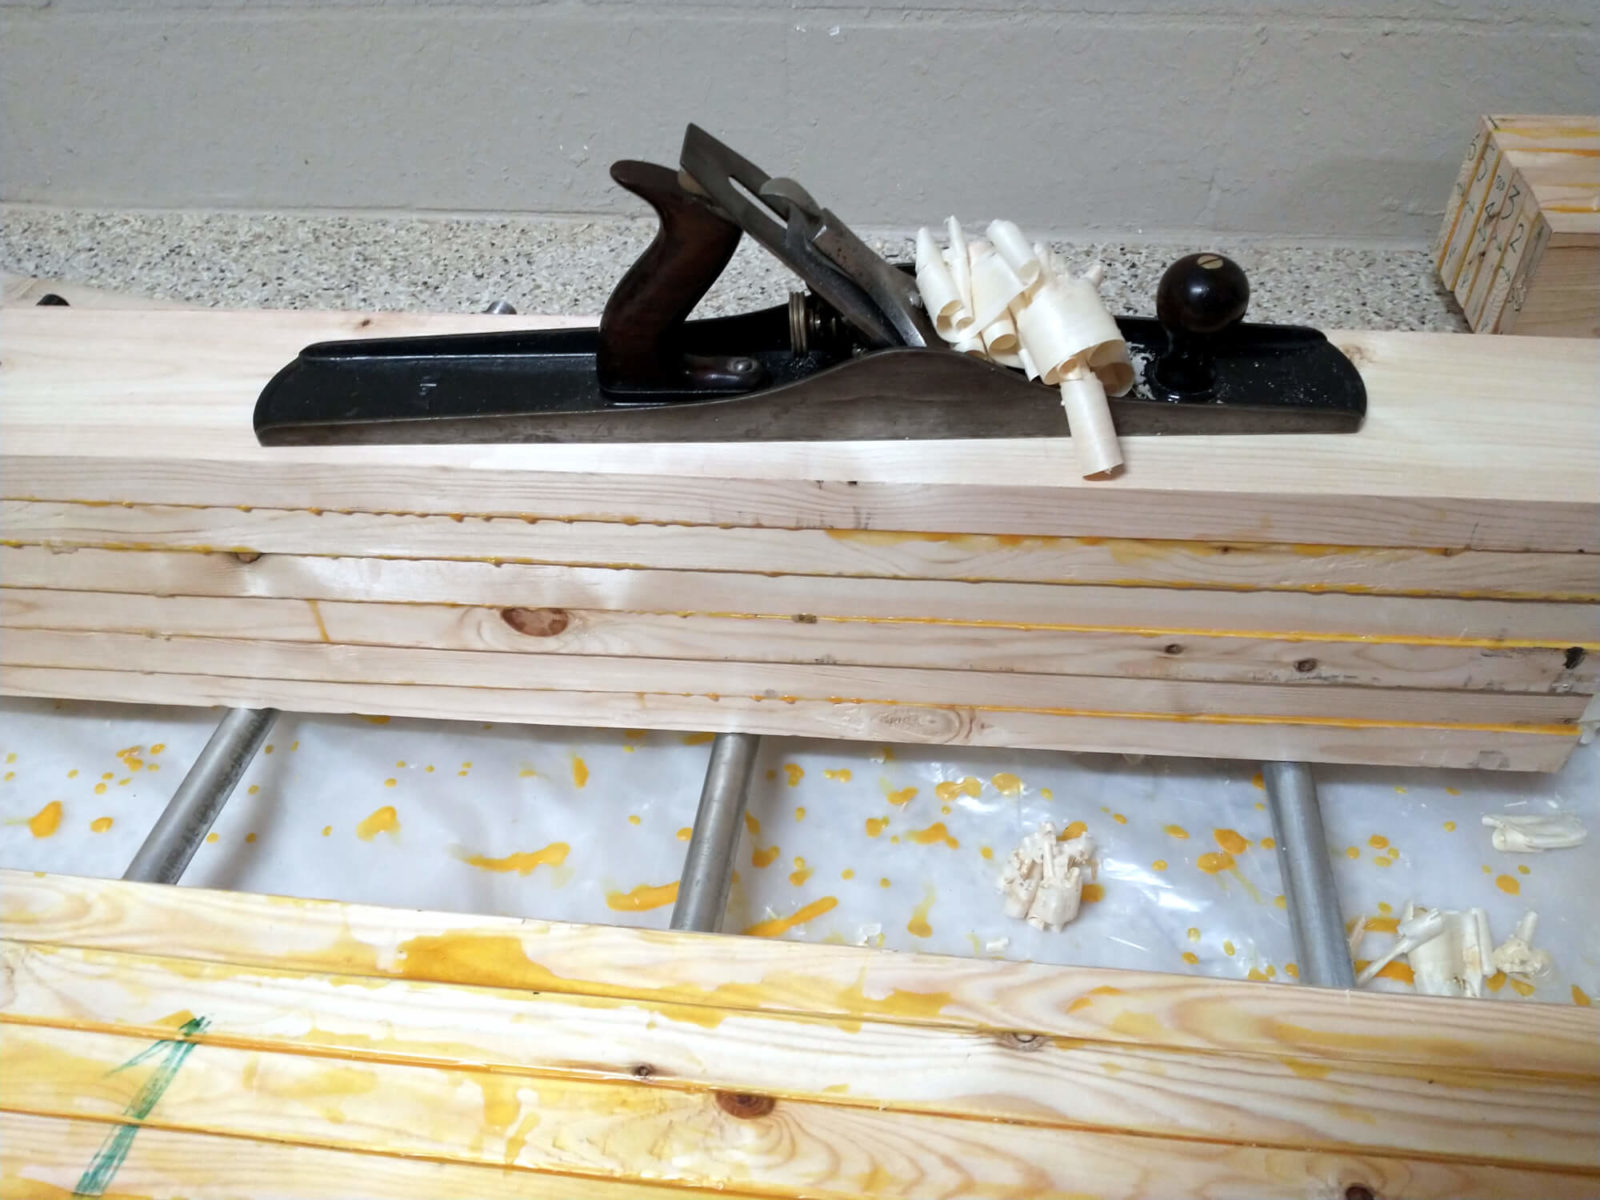
Steve Schuler, of The Literary Workshop Blog writes about liking lightweight planes. I do too. I do almost everything with a #5. Yet, for the first time in a dozen years I pulled out my big, 8 pound, 22 inch long, #7 to fine tune the mating surfaces of those 3 bundles. That Stanley #7 is a pre-WW2 era plane that I bought for working long boards used for boat building. Projects since then have been smaller and not warranted the extra length or weight. For this job, the weight is a bonus. Get that plane moving and it plows right through.
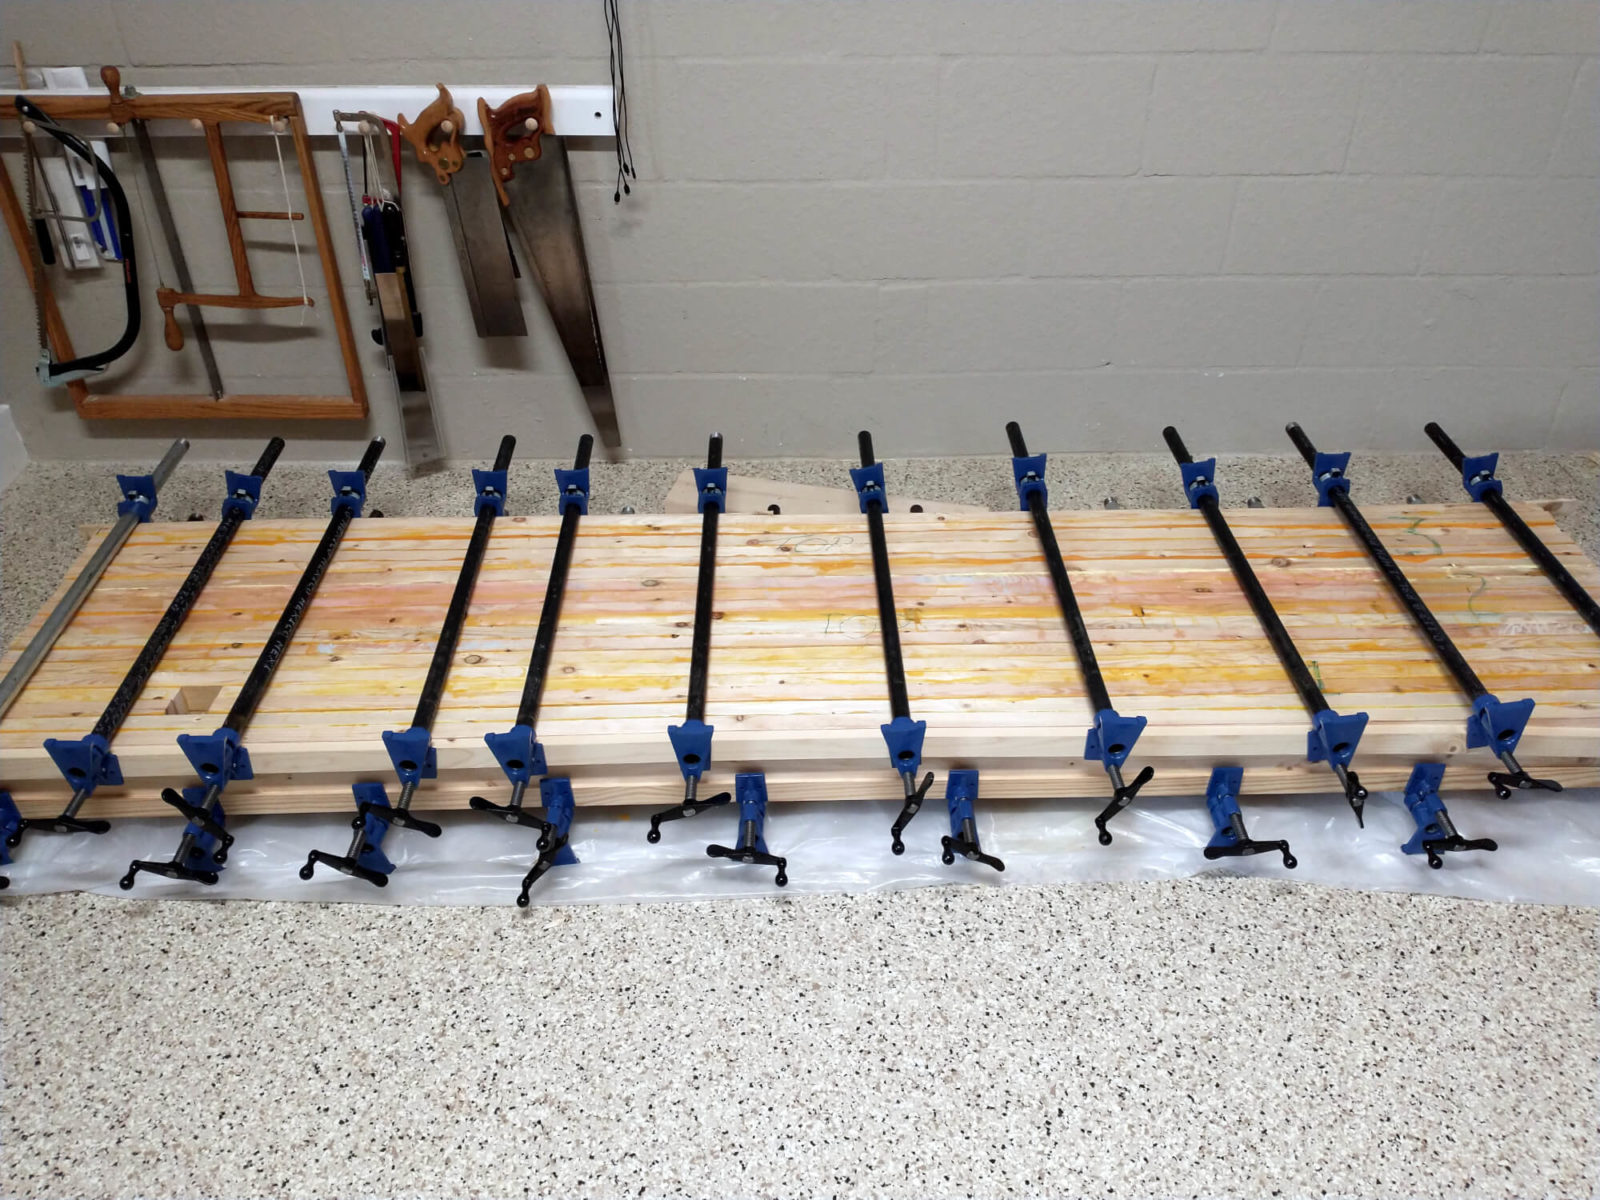
I glued the bundles together with the top side uppermost so I could insure the top clamps closed everything up tight.
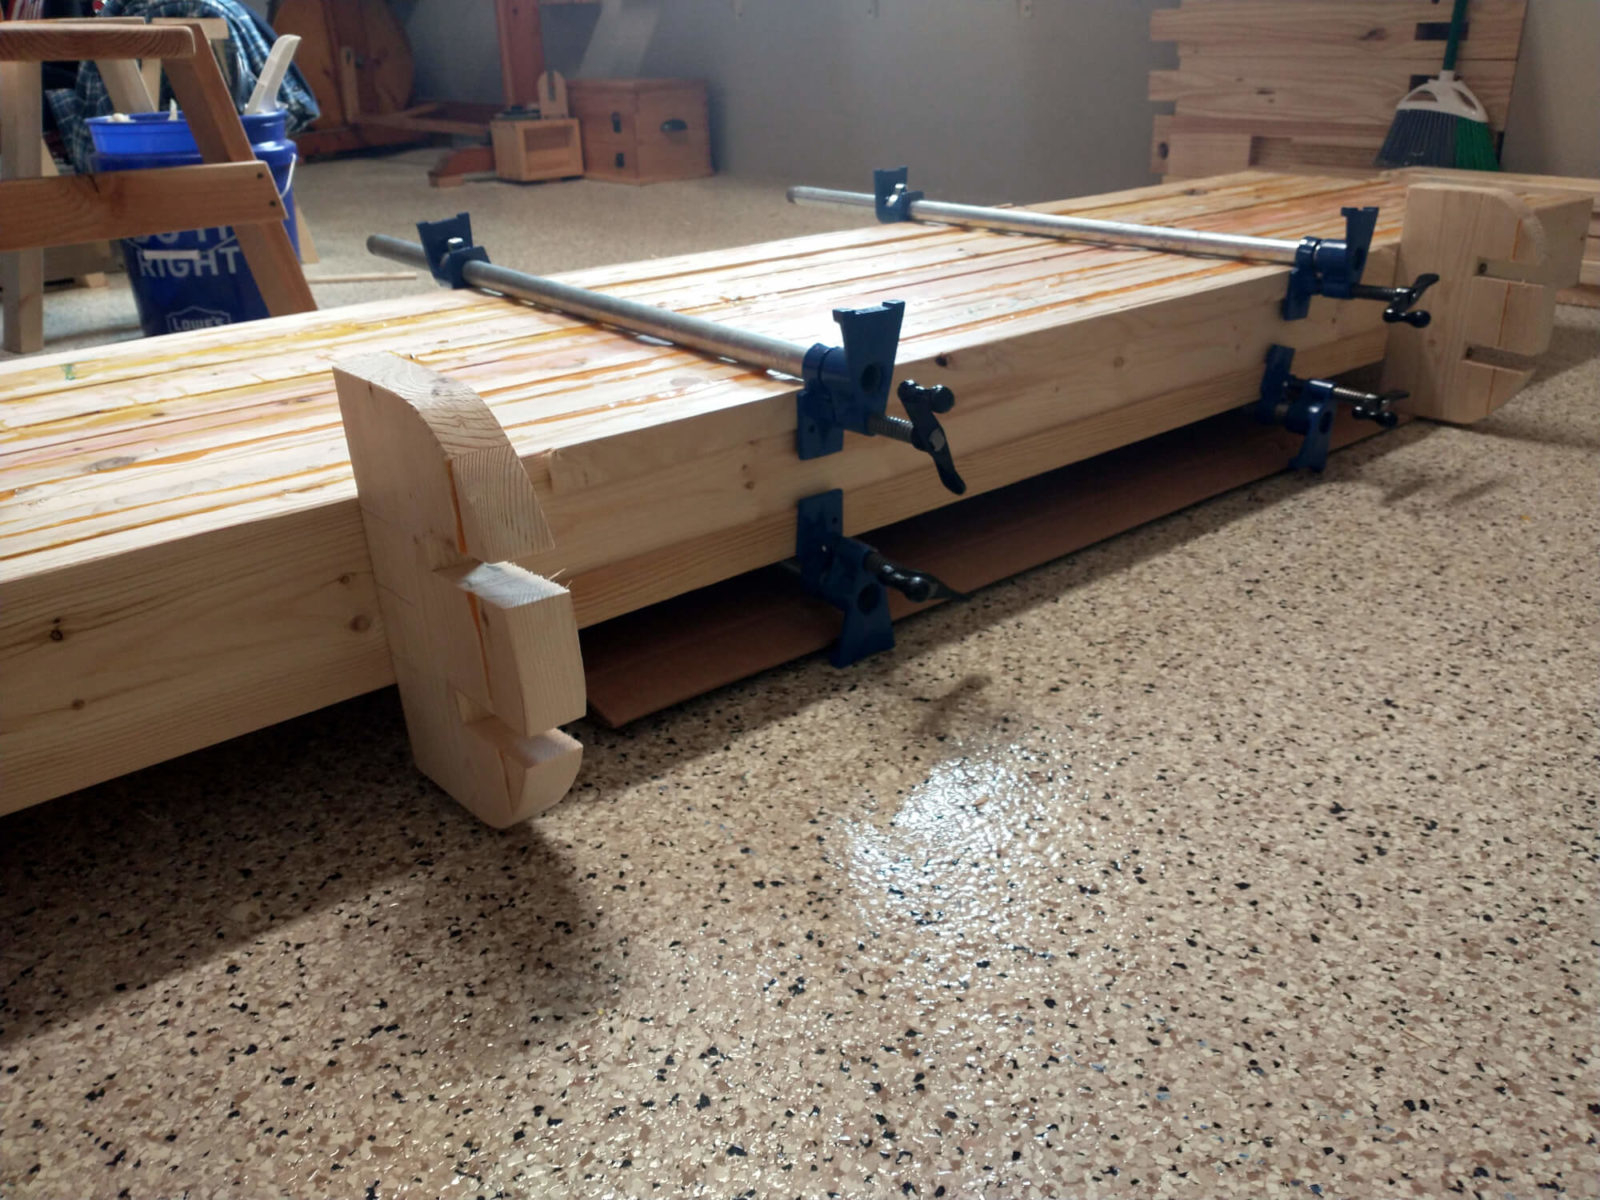
Then… the next work needed to be done on the bottom. How does one person flip a 240 pound board over by himself? Rockers. Yep, I made a couple of rocker boards, screwed them to the back edge of the benchtop and used a couple of clamps as handles. Worked great!
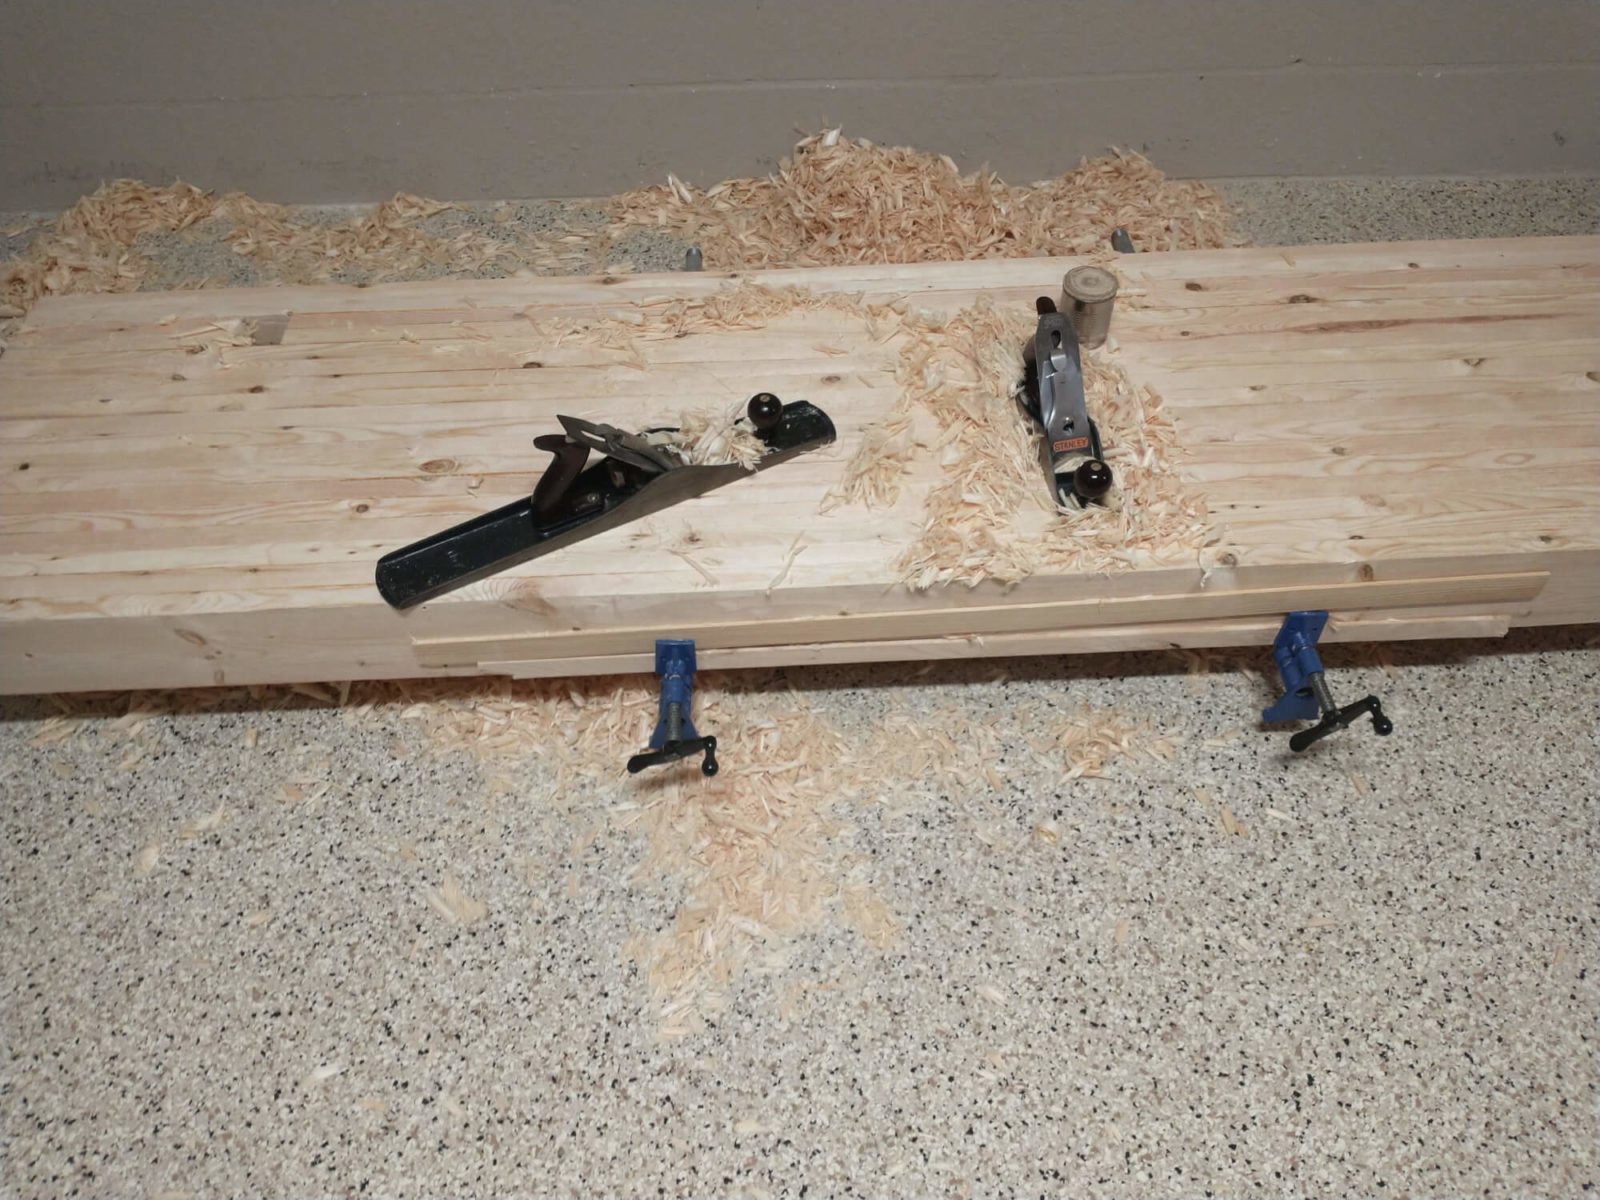
More donkey work. Down on the floor, I scrub planed the underside of the benchtop. No need for a fine surface here, scrub marks are OK. What was needed was a surface fine enough for marking leg mortises. With the undercarriage dry fitted together, I marked mortise positions using blue tape and a marking knife.
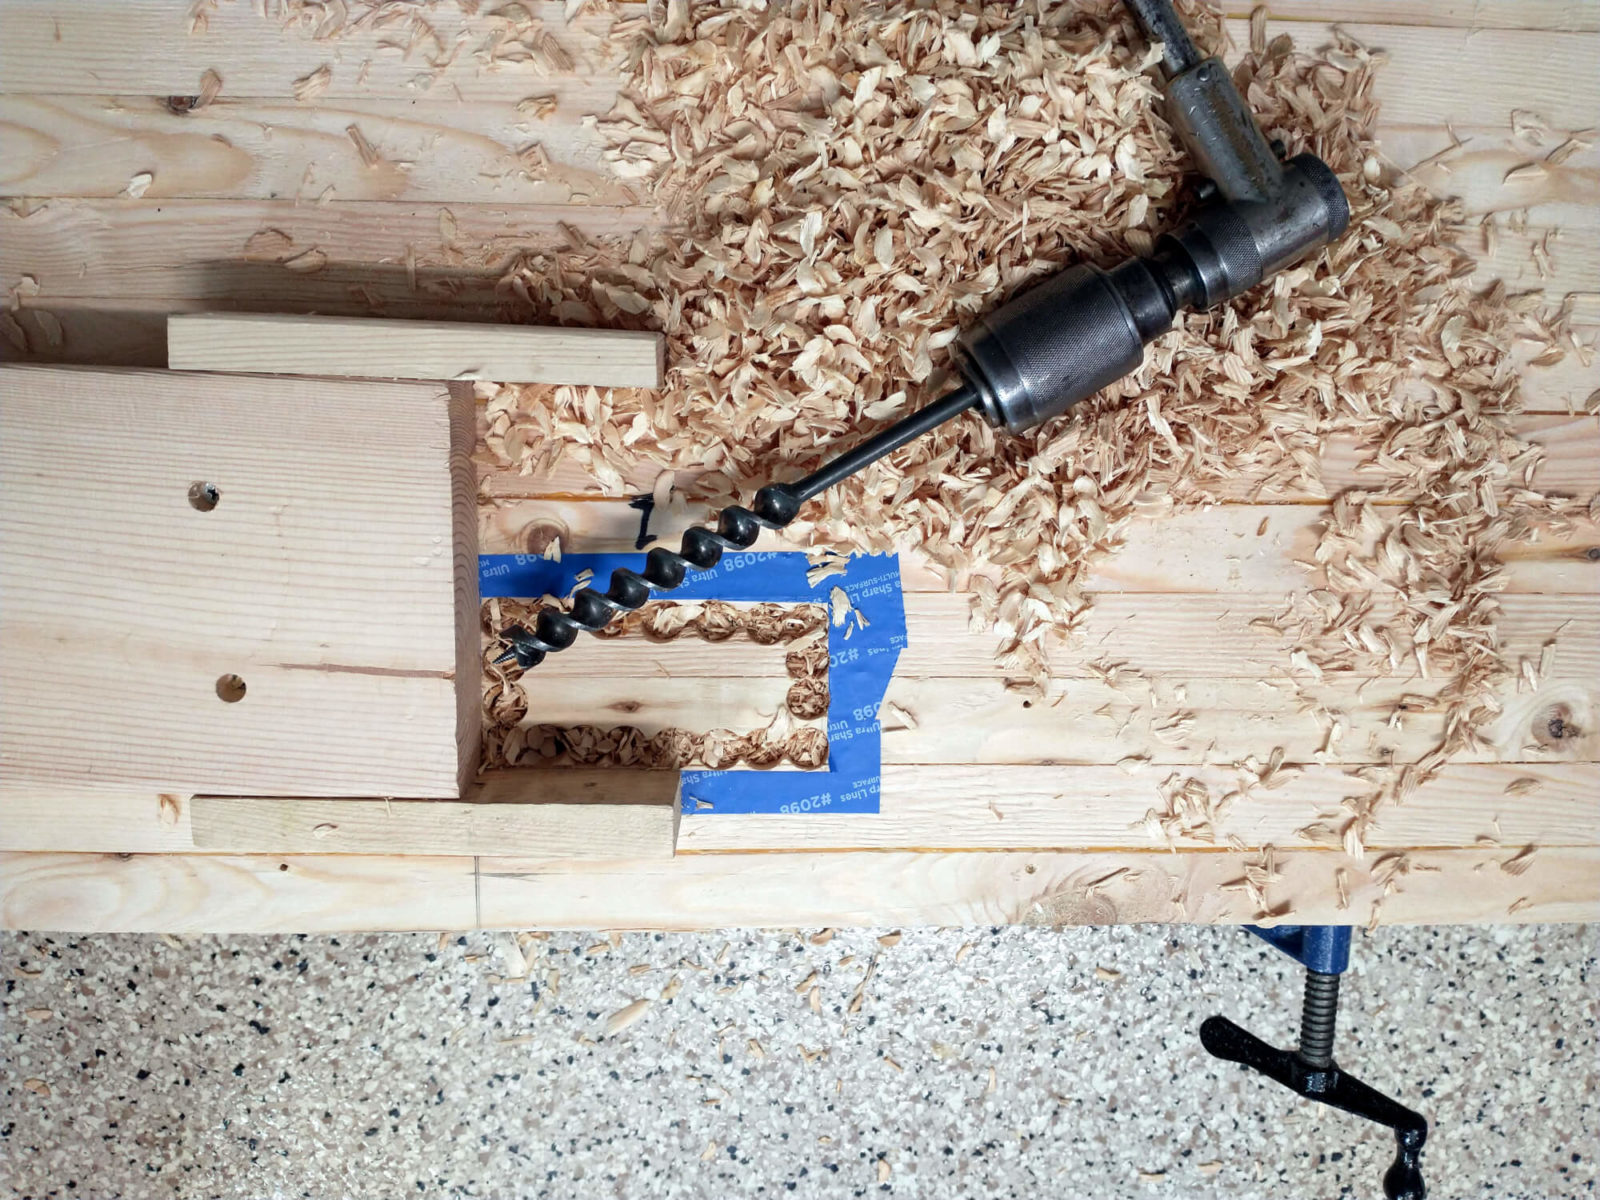
Next, about lebenty-eight drilled holes, followed by chisel work, produced the mortises for the legs. All were drilled for drawboring and lots of pegs made from oak 5/8″ dowels.
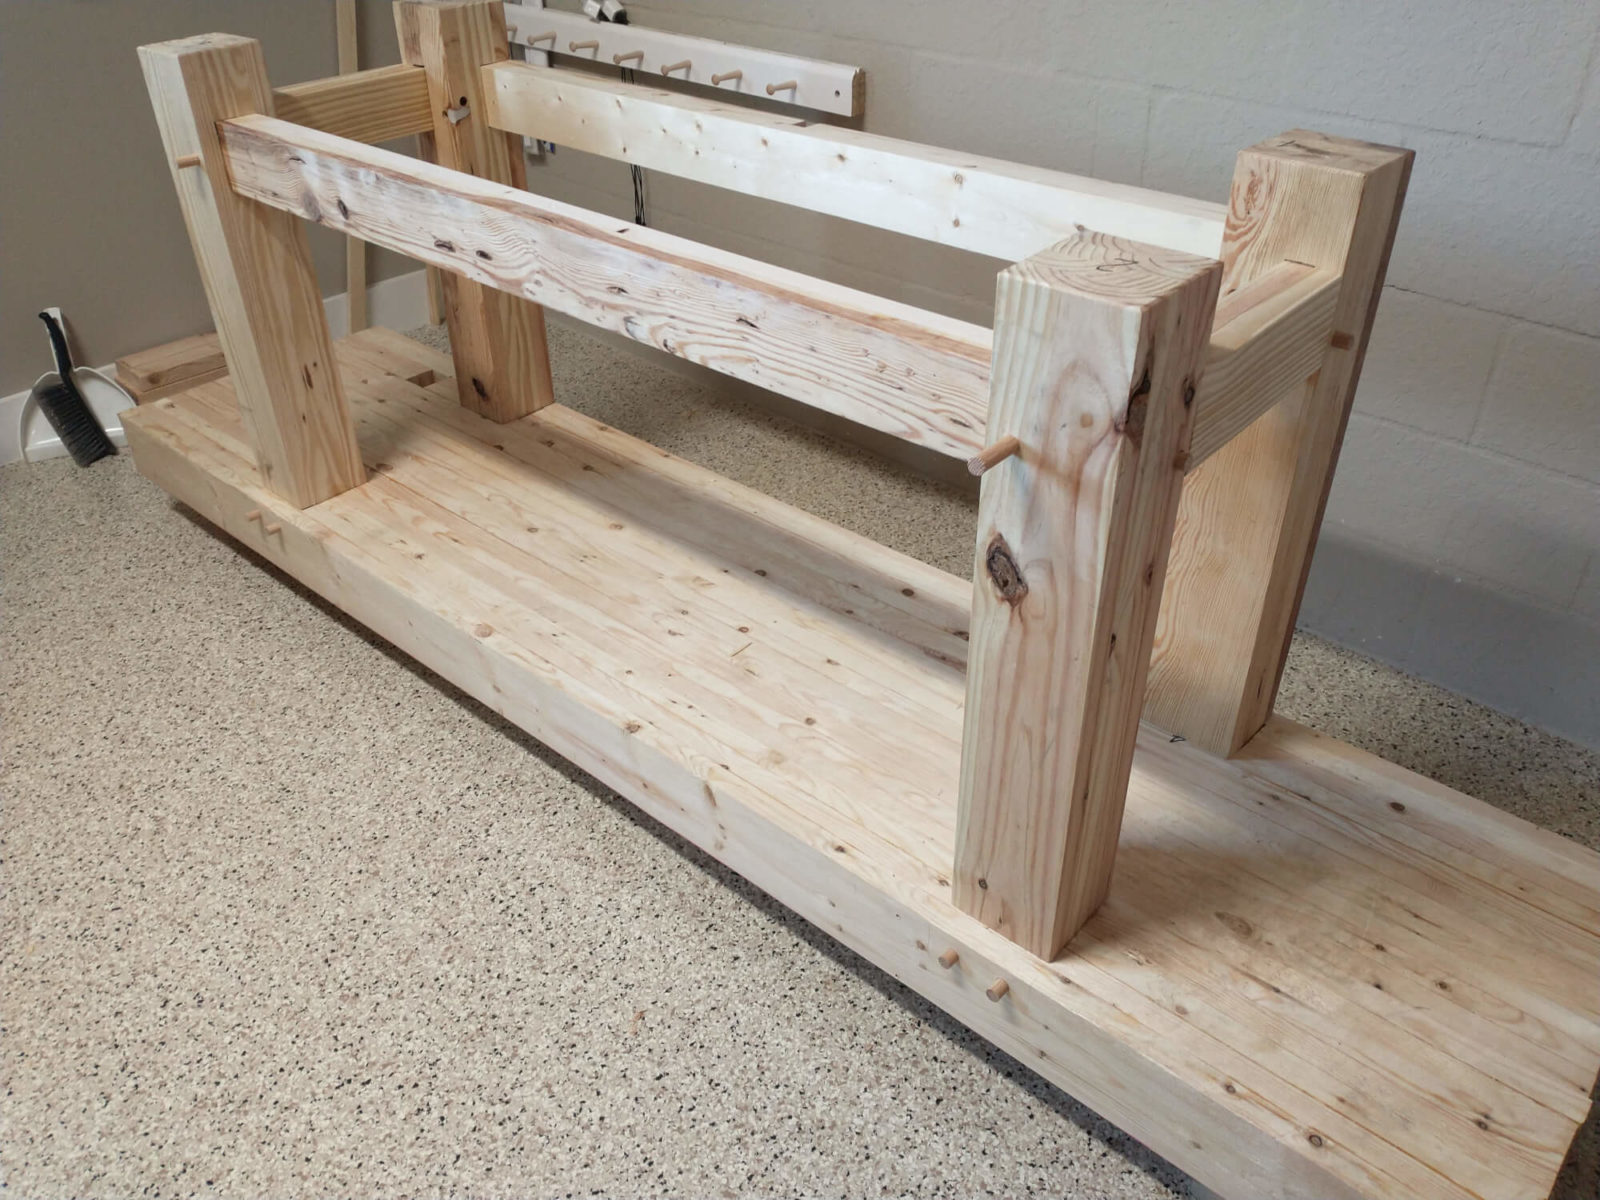
To afford “wiggle time,” I used Old Brown hide glue to glue up the undercarriage and then glued it to the benchtop. The mortises were snug enough to fit well, but loose enough to allow the 90 pound undercarriage to be wiggled into place. Lots of peg pounding brought all together. The only way it comes apart now is with a chainsaw. Can you spot the one assembly error I made?
Tomorrow, I’ll show how one person turns a 325 pound bench over without strain … and without cracking sounds (wood or bone).
I didn’t spot the error.
Nice work.
– I glue the boards of the top lamination one at a time (except for the first 3), that way I don’t need heavy clamps I would never use after. Although I understand one would do bundles if one want to pass each one in a planer/thicknesser before final glue up.
– “Down on the floor, I scrub planed the underside of the benchtop. No need for a fine surface here, scrub marks are OK.”
One important thing about the bottom is to have no wind where the top will sits on the undercarriage, otherwise it will tend to twist it.
– your bench is much heavier but the way shown here implies one doesn’t need to lift the total weight of the top but only about half of it:
video in this blog: https://paulsellers.com/2017/08/update-hannahs-progress/
Thanks Sylvain. Fortunately, careful planing has resulted in no wind on either the bottom or the top of the bench. Leverage is always your friend for moving large or heavy objects. The next post shows the leverage I used.
That’s a whopper, Bob. I get it’ll be a joy to use. It won’t be moving anywhere even with the heaviest planing and pounding. In the picture before showing the curved rockers I was thinking to myself, “how’s he going to move that thing?” And then the answer was the rockers. I’m still wondering how you’ll turn it right-side-up. Hope you have some strong grandkids down there.
We have some great grandkids, but none are nearby. So, I end up doing it by myself. Next post.